
What does “breaking in” a mouthpiece actually mean?
The mouthpiece does not physically change when you call it a “break-in.” No mechanical wearing occurs in the material itself. What actually happens is that you, the player, adapt. Your embouchure, articulation, breath support, and muscle memory all recalibrate to the new equipment over a period of several weeks of regular practice.
This distinction matters more than most players realize. Expecting the mouthpiece to “loosen up” on its own leads to frustration. Expecting yourself to adapt, and giving that process the time it deserves, leads to real progress. Players commonly report a sense of stuffiness or tonal change in the first few days. That perception is normal. Stable playing usually requires a couple of weeks of consistent practice before the new setup feels natural.
Here is what the step by step mouthpiece break-in process actually involves:
- Your embouchure muscles adjust to a new tip opening and facing length
- Articulation patterns shift subtly to match the mouthpiece’s resistance
- Breath support recalibrates to the new response and tonal center
- Reed choice gets refined as you learn what the mouthpiece prefers
- Pitch stability improves as muscle memory solidifies over 10–14 days
- Tonal perception normalizes once your ear adjusts to the new sound
Think of it as recalibrating the player-instrument system, not fixing a piece of equipment.
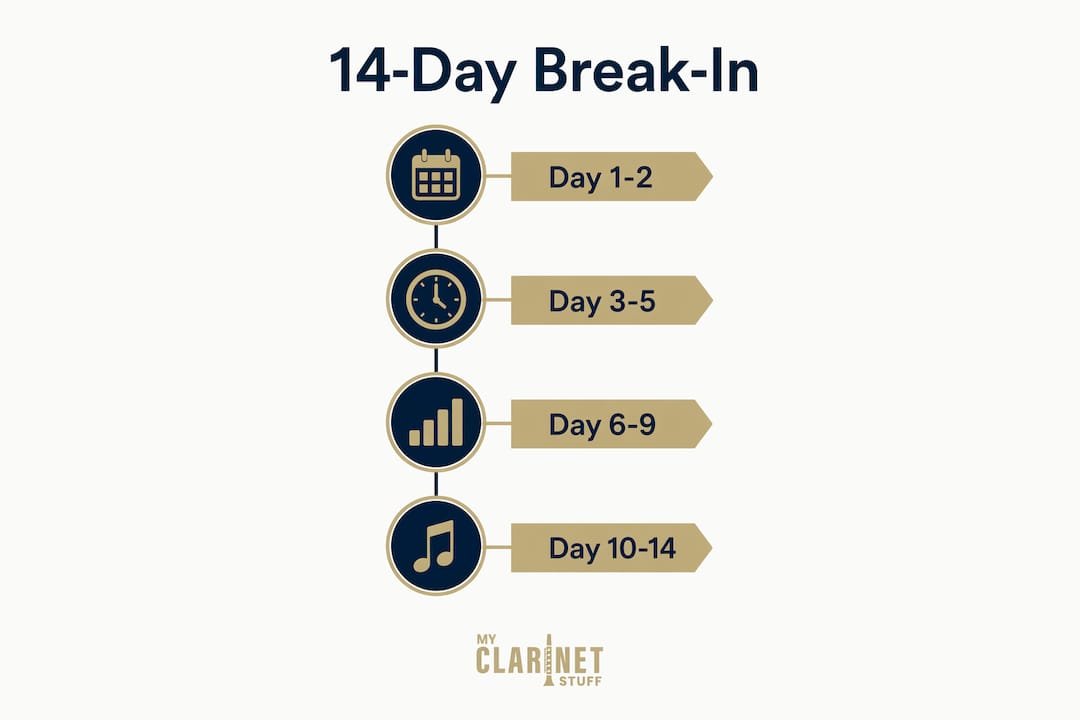
How to break in a new mouthpiece: the 14-day schedule
A systematic 14-day schedule built around micro-sessions and incremental practice time gives your embouchure the best chance to adapt without fatigue or frustration. The key is short, focused early sessions followed by gradual increases in duration and dynamic range. Rotate 4–8 reeds throughout so no single reed carries your entire practice load.
-
Day 1 (First contact). Moisten each reed in clean water for 1–2 minutes. Play long tones at mezzo-forte for 2–3 minutes per reed, focusing on middle register notes (G4 to C5 written). Avoid loud dynamics and aggressive articulation. Repeat twice with at least 4 hours of rest between sessions. Total playing time per reed stays under 6 minutes.
-
Day 2 (Slightly longer, still gentle). Soak each reed for 1–2 minutes. Play 5 minutes per reed, twice during the day. Include simple scales in the low and middle registers. Keep dynamics between piano and mezzo-forte.
-
Days 3–4 (Expanding range). Play 8–10 minutes per reed per session, once or twice daily. Add long tones into the clarion register up to written C6, plus simple slurs across the break. Introduce gentle crescendos and decrescendos. By day 4, the reed should feel more flexible and slurs across the break should smooth out.
-
Days 5–7 (Normal practice length). Increase to 15–20 minutes per reed per day in one focused session. Use the reeds for scales, arpeggios, and excerpts across the full range, including some controlled forte playing. By day 5, many reeds enter their first “sweet spot” and pitch should track within roughly +/–10 cents on a tuner across most notes.
-
Days 8–10 (Performance testing). Use your best 2–4 reeds for extended playing up to 30 minutes per session. Test articulation at moderate tempos, dynamic contrast, and full range response. Check tuning daily with a digital tuner.
-
Days 11–14 (Rotation and monitoring). Your top reeds should now be fully settled. Use them for rehearsals and performances up to 45–60 minutes per session. Monitor for any loss of response or pitch drift, which signals a reed is past its peak.
The table below maps each phase to its target duration, focus, and the checkpoint that tells you you’re on track.
| Phase | Days | Daily Playing Time | Focus | Checkpoint |
|---|---|---|---|---|
| First contact | 1–2 | 5–10 min per reed | Long tones, middle register | Reed speaks without excessive biting |
| Range expansion | 3–4 | 8–10 min per reed | Clarion register, slurs over break | Smoother slurs, less pitch sag on low notes |
| Normal practice | 5–7 | 15–20 min per reed | Full range, scales, arpeggios | Pitch stable within a small tolerance, reliable soft attacks |
| Performance testing | 8–10 | Up to 30 min per reed | Articulation, dynamics, full range | Consistent response at moderate tempos |
| Full use | 11–14 | 45–60 min per reed | Rehearsals and performances | Stable tone, no unexpected pitch drift |
Pro Tip: Always play your current mouthpiece immediately before and after a new one during the first week. That direct comparison gives you a reliable reference point and prevents you from misjudging the new setup based on memory alone.
How does mouthpiece material change the adaptation approach?
The material of your mouthpiece does not physically transform during break-in, but it does affect how the reed seats, how resistance feels, and how quickly your embouchure adapts. Understanding those differences lets you tailor your approach from day one.
Hard rubber (ebonite)
Hard rubber is the most common material for clarinet mouthpieces, including the precision CNC-crafted Gleichweit mouthpieces available through Myclarinetstuff. The typical adaptation period runs 5–7 days of regular practice. On days 1–2, limit sessions to 20–30 minutes with frequent short breaks and focus on long tones and tuning checks to learn the resistance and pitch tendencies. By days 3–5, you can move to normal practice length. The facing, rails, and table do not wear in like cane, but the reed seats more consistently as you find the ideal ligature pressure. Clean the beak and window daily with a soft cloth.
- Wipe the interior with a clean swab after every session
- Avoid soaking hard rubber in hot water, which can cause warping over time
- Store away from direct sunlight to prevent discoloration
Plastic
Plastic mouthpieces, common on student instruments, are less sensitive to environmental changes but can feel brighter and less complex in tone. The adaptation period is typically a few days because the player adjusts more than the material does. Use the same reed rotation and break-in schedule. Pay close attention to intonation in the throat tones and upper clarion register, since some plastic mouthpieces have less refined facings. If pitch issues persist after several days with multiple reeds, the mouthpiece itself may be the limiting factor.
- Check throat tone intonation daily with a digital tuner
- Avoid abrasive cleaners that can scratch the facing
Metal
Metal clarinet mouthpieces appear mainly in jazz or specialty setups and often carry different tip openings and facings. Adaptation can take about a week due to the distinct resistance and tonal color, not because the metal itself changes. Metal conducts heat quickly, so the mouthpiece may feel colder at the start of a session and warm up faster, causing small pitch shifts. Use a tuner daily and adjust barrel length as needed.
- Keep early sessions short and monitor embouchure fatigue carefully
- Clean metal mouthpieces with a soft cloth to avoid scratching the facing
- Never use abrasive polishes near the table or rails
Pro Tip: When switching to a mouthpiece with a wider tip opening than your current one, try a reed that is half a strength softer than usual. Tip opening and reed strength are directly linked: a more open mouthpiece requires more reed flex, so the same strength will feel noticeably harder.
Why does a careful break-in matter for sound, pitch, and longevity?
Rushing the adaptation process costs you more than comfort. Tone quality, pitch stability, and long-term mouthpiece condition all depend on how patiently you work through the first two weeks.
Pitch stability improves progressively as your embouchure adapts. Tuning should be checked daily, especially with metal mouthpieces that are sensitive to temperature shifts. Players who skip this step often blame the mouthpiece for intonation problems that are actually embouchure-related and fully correctable with time.
Mouthpieces do not wear out in the traditional sense, but micro-abrasions can develop on the rails over time from reed vibration. Rotating between a primary and a backup mouthpiece extends the lifespan of both and keeps your response consistent across different playing situations. Proper cleaning and maintenance during break-in prevent buildup that can affect tone and longevity.
Common mistakes that slow adaptation or cause damage:
- Playing at full dynamic range on day one, which fatigues the embouchure before it has adapted
- Using old reeds that have already conformed to a previous mouthpiece’s facing
- Switching back and forth between the old and new mouthpiece mid-session, which prevents true adaptation
- Neglecting daily cleaning, allowing calcium and moisture buildup on the table and rails
- Adjusting ligature pressure constantly instead of finding one setting and playing through it
- Abandoning the new mouthpiece after a few days because it “doesn’t feel right yet”
The benefits of a patient, structured break-in are real and measurable. Tone becomes more consistent, pitch centers more reliably, and the mouthpiece lasts longer because the rails stay clean and undamaged. Players who understand mouthpiece material and commit to the process consistently report a more satisfying result than those who expect instant results.
What do experts say about adapting embouchure and technique?
The clearest expert consensus on mouthpiece adaptation comes from a simple equation. As trumpet pedagogue Troy Sargent frames it:
That framing applies directly to clarinetists. The mouthpiece shapes the conditions for your technique. It does not replace technique. John Ericson, writing at Horn Matters, describes his own two-week adaptation to a new instrument and mouthpiece combination this way: “I know I am also changing my default style of articulation a little, essentially softening it to match the horn.” That softening is not a flaw. It is normal adaptation, and recognizing it as such prevents players from abandoning a good mouthpiece too soon.
One of the most common pitfalls in mouthpiece adaptation is what players sometimes call the “mouthpiece safari”: frequent switching delays true adaptation and keeps you permanently in evaluation mode. Committing to one mouthpiece for a sustained period gives your technique time to settle and gives you an honest picture of what the mouthpiece actually does.
Here is what expert consensus recommends during the adaptation period:
| Do | Don’t |
|---|---|
| Use fresh reeds matched to the new tip opening | Reuse reeds that conformed to your old mouthpiece |
| Check tuning daily with a digital tuner | Judge intonation by feel alone in the first week |
| Commit to one mouthpiece for at least 4 weeks | Switch back and forth between old and new mid-session |
| Record yourself at week 4 and compare objectively | Rely on how the mouthpiece feels on day one |
| Adjust ligature pressure once and play through it | Constantly tweak the setup during a session |
Selecting fresh reeds matched to the mouthpiece’s tip opening and facing length is one of the most impactful steps you can take. Old reeds that have conformed to a previous mouthpiece’s facing will not sit correctly on a new one, which skews your perception of the new setup from the start. A new mouthpiece should play most reeds in a box at a given strength. If only one or two reeds work, the strength is likely wrong for that tip opening.
Players also subconsciously adjust their articulation style during break-in, often softening attacks to match the new resistance. This embouchure softening is a normal part of adaptation, not a sign that something is wrong with the mouthpiece or your technique.
How should you clean and prepare a mouthpiece before starting break-in?
Starting the break-in process with a clean mouthpiece removes one variable from an already complex adaptation. Residue, dust, or manufacturing oils on a new mouthpiece can affect how the reed seats on the table and how the tone projects from the first session.
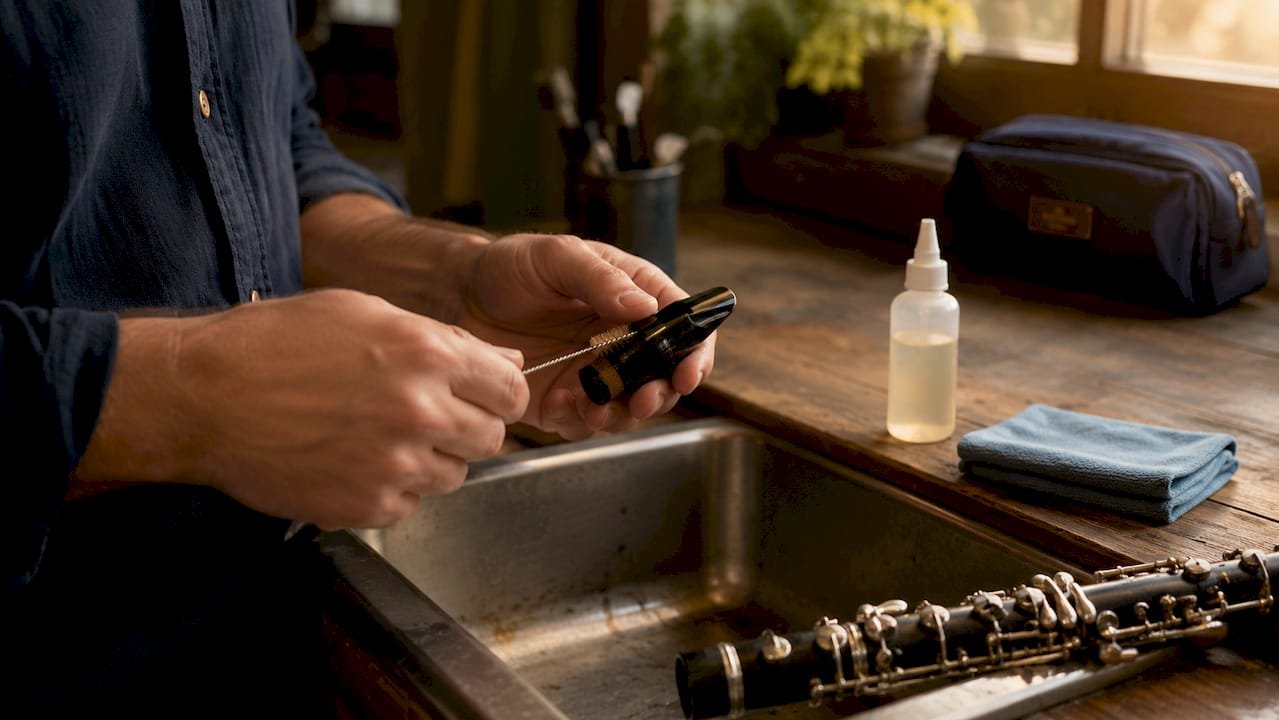
For a brand-new mouthpiece, rinse it in lukewarm water before the first use. Avoid hot water, which can warp hard rubber over time. Use a soft, lint-free cloth to wipe the interior, paying attention to the table (the flat surface where the reed sits) and the facing (the curved area leading to the tip). Any debris on the table will prevent the reed from seating flat, which creates air leaks and unpredictable response.
During break-in, clean the mouthpiece after every session. A consistent cleaning routine prevents calcium buildup from saliva, which accumulates on the rails and inside the chamber and gradually affects tone. A mouthpiece brush and mild dish soap work well for weekly deep cleaning. Rinse thoroughly and let the mouthpiece air dry completely before storing it. Never leave a wet mouthpiece in a closed case, as trapped moisture accelerates buildup and can cause odor.
Check the ligature fit before each session during the first week. A ligature that sits unevenly or applies pressure at the wrong point on the reed can make a good mouthpiece feel unresponsive, which is easy to misread as a break-in problem. Adjust once, note the position, and keep it consistent.
What tools and products support a successful break-in?
The right supporting equipment makes the adaptation process faster and more reliable. None of these tools are exotic, but each one addresses a specific variable that can otherwise cloud your assessment of the new mouthpiece.
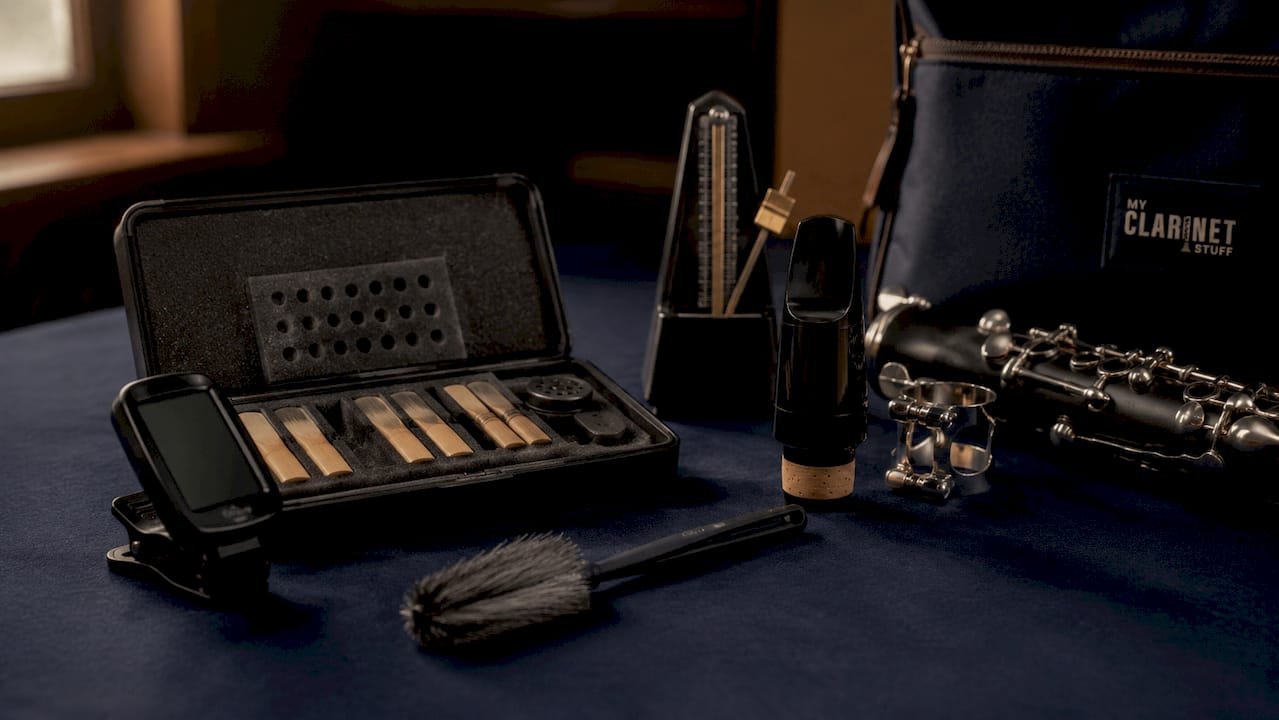
Digital tuner. A clip-on chromatic tuner like the Korg TM-60 or the D’Addario NS Micro is the single most useful tool during break-in. Pitch stability is one of the clearest indicators of embouchure adaptation, and tracking it daily gives you objective feedback that your ear alone cannot provide in the early days.
Reed case with humidity control. A reed case that maintains consistent humidity, such as the D’Addario Reed Vitalizer system, keeps your rotating reeds in stable condition throughout the 14-day process. Reeds that dry out unevenly between sessions introduce inconsistency that has nothing to do with the mouthpiece.
Mouthpiece brush. A small, soft-bristle mouthpiece brush removes buildup from the chamber and throat without scratching the facing. Use it weekly with mild dish soap and rinse thoroughly.
Ligature. The ligature affects how freely the reed vibrates and directly influences resistance and tonal color. If you are switching mouthpieces, consider whether your current ligature is designed for the new mouthpiece’s dimensions. A poorly fitting ligature can make a good mouthpiece feel stiff and unresponsive throughout the entire break-in period.
Metronome. Consistent tempo during break-in sessions keeps your articulation honest. Players often unknowingly slow down when a new mouthpiece feels resistant, which masks real adaptation progress. A metronome removes that variable.
Pro Tip: Keep a simple daily log during the 14-day period. Note the reed you used, the session length, and one observation about tone or pitch. Patterns become visible by day 7 that are impossible to track from memory alone.
For players exploring Gleichweit mouthpieces, Myclarinetstuff’s at-home test box program lets you trial multiple tip openings in your own playing environment before committing, which takes the guesswork out of the initial selection and sets the break-in process up for success from the start.
Key Takeaways
A successful mouthpiece break-in is a player adaptation process, not a material change, and it requires 14 days of structured, incremental practice to achieve stable tone, pitch, and embouchure comfort.
| Point | Details |
|---|---|
| Break-in is player adaptation | No physical change occurs in the mouthpiece; your embouchure and technique adjust over 14 days of regular practice. |
| Follow a 14-day schedule | Start with short sessions per reed and gradually increase to longer practice times over two weeks. |
| Material affects timeline | Hard rubber stabilizes in 5–7 days; plastic in 3–5 days; metal in 7–10 days, but stable playing on any material typically requires 14 days of consistent practice. |
| Use fresh, matched reeds | Old reeds conformed to your previous mouthpiece will skew your perception of the new one. |
| Clean before and during break-in | Daily wiping and weekly deep cleaning prevent buildup that affects tone and rail condition. |