


Three things move the needle on altissimo control fastest: solid posture with focused, fast air, a target note picked in advance (start with written C6, not the whole register at once), and a vocal tract shaped to support that specific note. Measurements of vocal-tract impedance during altissimo playing show peaks reaching tens of MPa·s·m⁻³, which is the physical reason a well-shaped throat and tongue produce a cleaner, faster attack in the high register. Fritz & Wolfe’s research confirms players shift their vocal-tract configuration noticeably once they leave the clarion register, so voicing isn’t optional polish. It’s the mechanism.
Start today with this:
- Pick one note (written C6) and commit to it for the week.
- Warm up through low and clarion long tones before attempting it.
- Shape your air with an “ee” vowel and record yourself to check the attack.
If your gear feels like it’s fighting you rather than the register itself, Myclarinetstuff’s mouthpiece resources are built for exactly that kind of troubleshooting.
Key Takeaways
Reliable altissimo control comes from pairing deliberate vocal-tract voicing with an incremental, one-note-at-a-time practice progression, not from raw air pressure or a single magic fingering.
| Point | Details |
|---|---|
| Start with one note | Master written C6 before adding D6 or E6; expand roughly every one to two weeks. |
| Voicing is not optional | Vocal-tract shape changes substantially above the clarion break and directly affects attack and pitch. |
| Test fingerings like a detective | Try two or three options per note and log which one is stable, in tune, and musically flexible. |
| Track objective numbers | Log success rate per session, squeak count, and tuner cent deviation instead of relying on feel alone. |
| Test equipment methodically | Use tools like the Myclarinetstuff Mouthpiece Matchmaker to A/B test mouthpieces without buying blind. |
Table of Contents
- What are the clarinet upper register mastery steps to start with?
- How does vocal tract shape affect clarinet high notes?
- Which equipment changes actually help your high notes?
- What is a daily practice plan for the upper register?
- How do you find fingerings that work for altissimo notes?
- Why does my clarinet crack or squeak in the high register?
- How long does it take to master the upper register?
- What repertoire and resources help apply these skills?
- How does airflow control differ for altissimo notes?
- An honest note on learning this register
- Where can you test mouthpieces without committing blind?
- Frequently asked questions
- Sources
What are the clarinet upper register mastery steps to start with?
Before touching altissimo fingerings, run a 60 second setup check. Skipping this is the single most common reason practice sessions stall before they start.
Posture and breath: Sit or stand tall, shoulders relaxed, and take a breath that expands your ribs and lower belly rather than lifting your chest. Diaphragmatic support is what keeps altissimo notes from thinning out under pressure.
Mouthpiece and reed test: Check the seal between mouthpiece and barrel, look for reed chips or warping, and confirm the reed sits evenly on the table with no visible gap at the tip.
Warm-up order matters:
- Low register long tones (chalumeau) for 3 to 5 minutes to settle your air.
- Clarion long tones next, focusing on evenness across the break.
- Throat tones (open G to B) to loosen tension before you ask for altissimo response.
Cap altissimo work in a single set to 5 to 8 minutes. Fatigue creeps in fast at this range, and pushing through it teaches your embouchure the wrong habits. Short, repeated sets beat one long grind.
How does vocal tract shape affect clarinet high notes?
Voicing isn’t a nice-to-have for altissimo. It’s the mechanism that determines whether a note speaks cleanly or cracks. When you shift into the upper register, your vocal tract has to change configuration substantially compared to how it behaves in the clarion register, according to Fritz & Wolfe’s measurements of working clarinetists. Below the break, most players use a fairly stable throat and tongue position. Above it, that stability has to give way to deliberate adjustment.
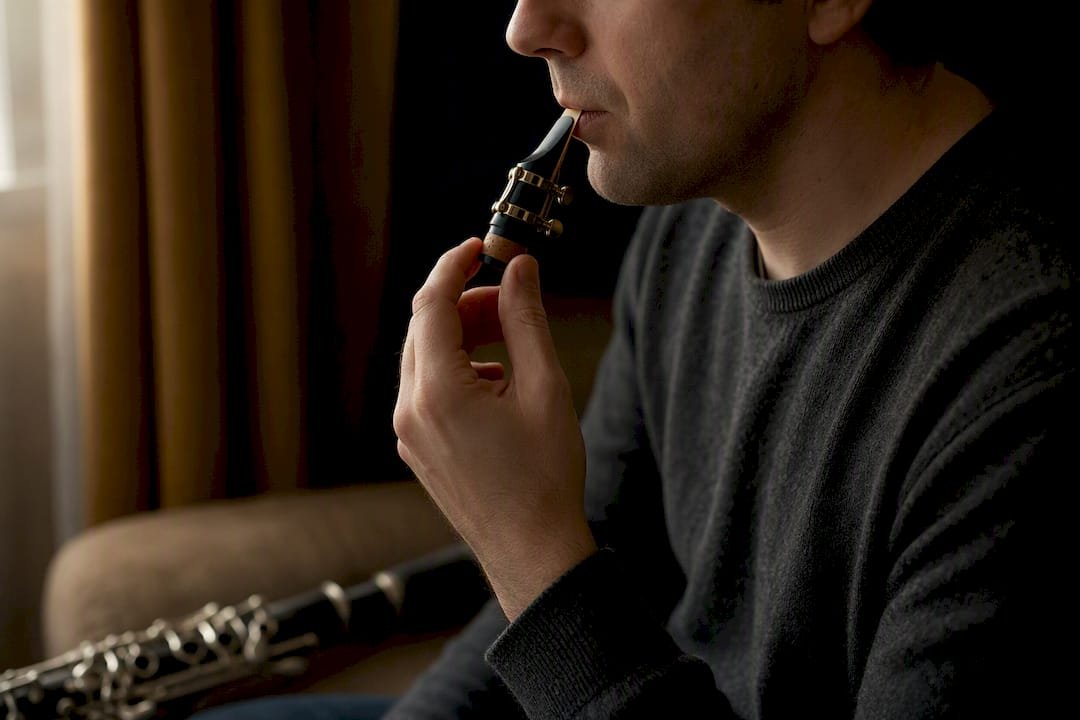
Impedance peaks in the mouth during altissimo playing can reach tens of MPa·s·m⁻³, a scale that matters because it means your vocal tract is acting almost like a second resonating instrument, working alongside the clarinet’s bore rather than staying passive. Research from Chen et al. backs this up: in the high range, vocal-tract resonances can compete with bore resonances in strength, and tuning your tract shape actively shifts pitch and tone color. That’s why two players with identical instruments and reeds can sound completely different on the same altissimo note.
Here’s how to find your own voicing, step by step:
- Vowel imagery test: Slur from clarion G up toward C6 while silently shaping “ee,” then try “ah.” Notice which vowel makes the note speak faster and cleaner.
- Tongue height drills: Practice raising the back of your tongue gradually on a single sustained note, listening for where the pitch stabilizes and the tone brightens.
- Voiced vs. unvoiced comparison: Hum the target pitch internally before you play it, then play it cold. The difference tells you how much your voicing is currently doing.
None of this replaces good embouchure fundamentals: a pointed chin, a firm but not clenched lower-lip cushion, and enough mouthpiece in your mouth to engage the reed without biting down. Biting kills tone color and makes altissimo notes sound strangled rather than clear. A vowel-based teaching method using sounds like /ø/ has produced real, measurable gains in conservatory settings, but treat any vowel system as a flexible starting point, not gospel. Your anatomy isn’t identical to your teacher’s.
Pro Tip: Play slow slurs from clarion G up to written C6 while recording yourself on your phone. Listen back and compare the attack transient (the very first millisecond of sound) between attempts using different vowel shapes. The cleanest, fastest transient usually marks your best voicing for that note.
Which equipment changes actually help your high notes?
Before you spend money, know what’s worth testing. Reed strength and mouthpiece geometry both shape how easily the upper register responds, but not every upgrade delivers a real difference.
Start here, in order of impact:
- Reed freshness first. A reed past its prime resists articulation in the altissimo range before it shows problems anywhere else. Try reeds within half a strength of your current setup, not a full jump.
- Mouthpiece tip opening and facing length second. A slightly more open tip can help projection in the high range but often costs stability if your air support isn’t there yet.
- Barrel length third. A barrel swap changes overall pitch and can tighten or loosen response across the break, which shows up immediately in altissimo intonation.
Run a simple A/B test: change one variable, play the same five-note passage for three days, and log what happens before touching anything else. Mouthpiece and reed interactions are covered in more depth in this guide to reed adjustment, which pairs well with this kind of controlled experimenting.
Before blaming technique, rule out hardware failure: a leaking register key, a worn side-key pad, or a hairline crack near the top joint will sabotage altissimo no matter how good your voicing is. Run through the setup essentials checklist if notes that used to speak suddenly won’t. Myclarinetstuff’s mouthpiece matchmaker tool is a low-friction way to test alternatives without committing to a purchase blind.
What is a daily practice plan for the upper register?
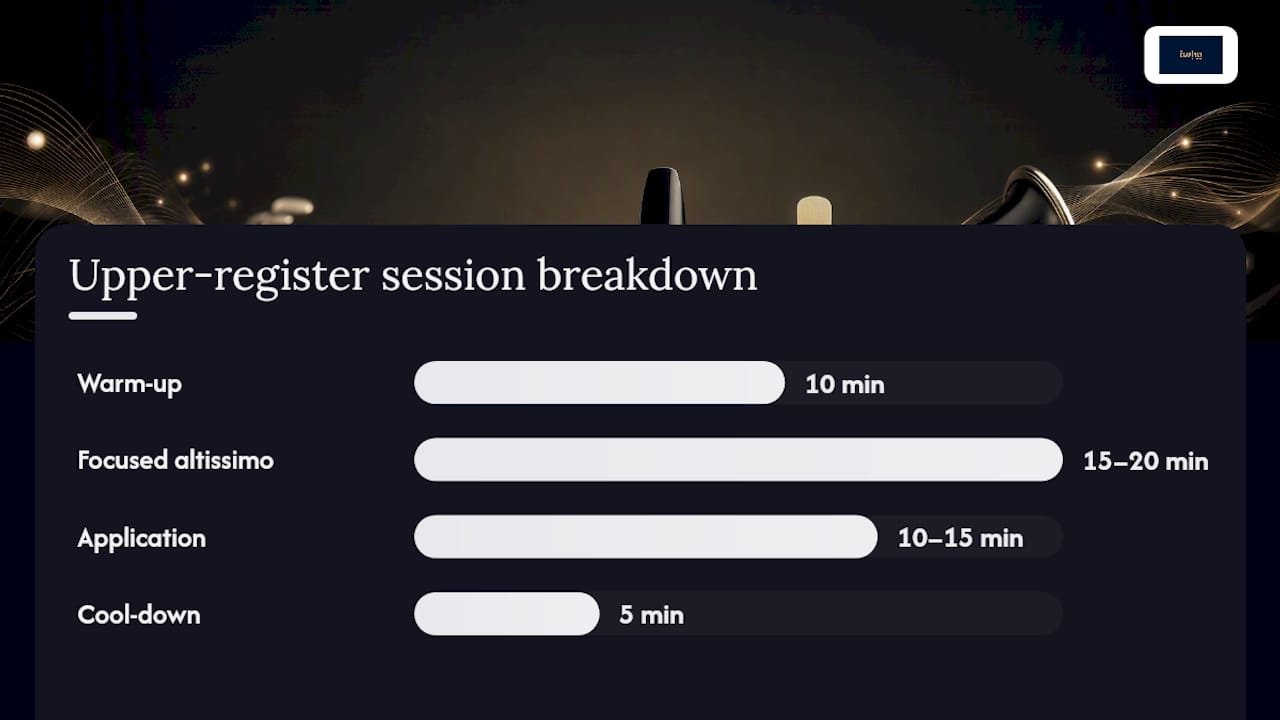
A 30 to 50 minute session, run consistently, beats sporadic hour-long marathons. Here’s the structure that actually builds reliable control instead of just tiring you out.
1. Warm-up (10 minutes). Long tones in the low register, then clarion, focusing on octave matching: play a low note, then its clarion octave, and check the pitch and tone color line up under a tuner.
2. Focused altissimo block (15 to 20 minutes). This is where the real work happens.
- Chromatic ascending long tones starting from clarion C, adding one half step every few days rather than jumping straight to the top of the register.
- The “add-a-note” chromatic scale: play a comfortable passage, then extend it by exactly one new altissimo note once the previous ones feel stable.
- Slow slurs into written C6, D6, and E6, holding each target note for four full counts before releasing.
- Scale fragments and simple arpeggios that cross the break into altissimo, since isolated long tones don’t always translate to musical passages.
3. Application block (10 to 15 minutes). Take whatever you just drilled and put it into a real musical context: an etude, an excerpt, or a scale in thirds that reaches into the altissimo range. This step is where isolated technique actually becomes usable playing.
4. Cool-down (5 minutes). Return to clarion and chalumeau long tones to release tension before you put the instrument down. Skipping this invites the kind of embouchure fatigue that shows up as stiffness the next day.
Micro-goals keep the plan honest. Set a simple bar: hit your target note cleanly 7 out of 10 attempts before moving to a new note. If you’re at 3 out of 10, stay on the current note another few days rather than adding complexity. A reasonable weekly expansion plan looks like adding one new altissimo note every one to two weeks, which matches pedagogical guidance recommending incremental fingering mastery rather than tackling the whole register at once.
Numbered progression to follow:
- Week 1 to 2: master written C6 with consistent attack and pitch.
- Week 3 to 4: add D6, cross-checking both notes together in slurred passages.
- Week 5 to 6: add E6 and begin applying all three notes in scale fragments.
- Week 7 and beyond: expand upward one note at a time, always retesting the notes below for stability.
Use a tuner app to log cent deviation on your target note each session, a metronome to keep long tones honest at a steady tempo, and your phone’s voice recorder weekly to track whether the attack is getting cleaner over time. Numbers don’t lie the way your ears sometimes do mid-session. The practice essentials guide has more detail on structuring session time if you want a companion routine for the rest of your playing.
Pro Tip: Record the exact same five-second phrase every Friday for a month. Stack the recordings side by side. Progress that feels invisible day to day becomes obvious once you can hear week one against week four.
How do you find fingerings that work for altissimo notes?
There’s no universal altissimo fingering chart that works identically for every player, every mouthpiece, and every horn. Professional clarinetists use what amounts to detective work: testing several fingerings for the same note and keeping whichever one responds best in their specific setup and musical context, a method confirmed in pedagogical research on how experienced players actually approach the register.
The detective method works like this:
- Try at least two or three fingerings for each new altissimo note before settling on a favorite.
- Log which fingering speaks fastest, which sits most in tune, and which sounds best tonally, since these three qualities rarely align perfectly.
- Prefer fingerings that connect smoothly to the notes around them in an actual passage over ones that sound great in isolation but require an awkward jump.
Common tendencies worth knowing as you start testing: written C6 fingerings built around the standard register key plus specific side keys often run slightly sharp on many setups, while some alternate D6 fingerings trend flat unless you compensate with faster air. These aren’t universal rules. They’re starting points for your own testing, not a substitute for it.
Choose by context, not habit. A fingering that’s rock-solid for a sustained note might be clumsy in a fast trill. A fingering that speaks cleanly at forte might turn thin and unstable at pianissimo. Build a working list per note that includes at least one option optimized for stability and one for smooth fingering transitions.
Pro Tip: Pair every new fingering discovery with an octave-matching check. Play the fingering, then play the note an octave lower, and listen for whether the tone color feels like a genuine family match. If it sounds like a different instrument, keep testing.
Trying to master too many new fingerings simultaneously tends to build tension and inconsistency rather than speed up progress, which is exactly why the note-by-note approach in the practice plan above pays off. Register control resources can help if you want a deeper reference chart to test against.
Why does my clarinet crack or squeak in the high register?
Most upper-register problems trace back to one of five causes: air speed, voicing, reed or mouthpiece condition, mechanical leaks, or embouchure tension. Diagnosing which one is at fault takes about two minutes if you work through them in order.
Cracking on attack: Usually means insufficient air speed or a voicing that’s too relaxed for the note. Fix: increase focused air support before you even touch the keys, and try a brighter vowel shape (“ee” over “ah”) on the attack.
Thin, weak tone: Often points to a worn reed or an embouchure that’s biting rather than supporting. Fix: swap to a fresher reed and check that your lower lip is cushioning, not clamping.
Pitch instability: Frequently a mechanical issue. Fix: check the register key and side-key seals for leaks, since even a small gap will destabilize altissimo pitch faster than it affects lower notes.
Random squeaks with no clear pattern: Test methodically. Swap the reed first, then play the same passage in clarion to confirm your basic setup is sound, then record a slow slur from clarion into altissimo and listen for exactly where the sound breaks down.
Quick triage checklist:
- Reed swap, then retest the same passage.
- Play the clarion equivalent of the problem note to isolate whether it’s an altissimo-specific issue.
- Check register key and side-key seals for visible or audible leaks.
- Nudge the mouthpiece slightly in or out on the barrel and retest.
- Try an alternate fingering from your detective-method list.
If the note improves noticeably with a fingering or voicing change, keep practicing technique. If nothing changes no matter what you try and you can hear or feel air escaping somewhere in the mechanism, that’s a repair tech visit, not a practice problem.
Pro Tip: Before assuming it’s your fault, play a clarion note you know is rock solid, then slur straight into the problem altissimo note. If the clarion note also sounds off that day, the issue is likely fatigue or setup, not the altissimo fingering itself.
How long does it take to master the upper register?
Progress on altissimo follows a fairly predictable arc if you’re practicing consistently, though the exact pace varies by player.
- Days 1 to 7: Immediate wins. Voicing adjustments and better air support often produce an audible difference on your target note within the first week.
- Weeks 2 to 6: Reliable control over one or two specific notes, meaning consistent attack and stable pitch across repeated attempts.
- Weeks 8 to 12: Multiple altissimo notes stable enough to use in actual musical passages, not just isolated long tones.
Track these numbers, not just feelings:
- Percentage of successful attempts per session (aim to move from under 50% toward 70% or higher on your current target note).
- Squeak rate, with a reasonable goal of fewer than one squeak per twenty attempts once a note is “learned.”
- Tuner-based cent deviation on sustained altissimo notes, checked weekly against intonation benchmarks.
A simple notebook or spreadsheet with date, target note, success rate, and squeak count is enough to spot whether you’re plateauing or genuinely progressing, and it removes the guesswork from deciding when to add a new note.
What repertoire and resources help apply these skills?
Isolated exercises only go so far. Repertoire forces you to use altissimo under real musical pressure, with dynamics and phrasing that long tones don’t test.
- Solo excerpts with sustained high passages (many standard clarinet sonatas and concerti include extended altissimo lines) train endurance and tone color together.
- Orchestral excerpts featuring exposed high entrances teach you to nail an altissimo note cold, without a warm-up run into it, which mirrors real performance demands.
- Structured etude resources, including graded altissimo etude tables, keep practice varied enough to avoid reinforcing the same technical error repeatedly.
- The NIU altissimo pedagogy resource offers additional fingering charts and exercise templates worth cross-referencing against your own detective-method notes.
Apply 5 to 10 minutes of actual repertoire at the end of each practice session, right after your application block. This is where technical drilling becomes music.
How does airflow control differ for altissimo notes?
Altissimo demands faster, more focused air than any other register on the clarinet, but “blow harder” is the wrong instruction. Speed matters more than volume. Think of it as directing a thin, fast stream of air rather than pushing a large volume through a wide opening.
Support comes from below, not above. Diaphragmatic engagement, the same rib and lower-belly expansion you build in basic warm-ups, has to stay active through the entire altissimo phrase, not just at the attack. Many players support the first note of a passage well and then let that support collapse a beat later, which is exactly when the tone thins out or cracks.
Practice airflow in isolation before adding pitch. Try blowing a steady stream through just the mouthpiece and barrel, no reed, aiming for a consistent hiss with no wavering. That steadiness is what you’re transferring into actual playing. Then add the reed back and notice whether your air speed changes once pitch and resistance enter the picture. It usually does, and noticing that gap is useful.
Sustain, don’t spike. A common error is a burst of air right at the attack that tapers off immediately after. Altissimo notes need sustained air speed across their full duration, particularly in slower passages where the ear has time to notice pitch drift. Pair airflow drills directly with the long-tone work in your daily practice plan rather than treating breath support as a separate skill. It isn’t separate. It’s the engine behind everything else in this article.
An honest note on learning this register
Altissimo mastery rewards patience more than talent. The detective method isn’t a workaround for players who lack a gift for the register. It’s simply how the register actually works, since research confirms there’s no single correct vocal-tract shape that applies to every player. Expect plateaus. Expect a note that felt solid last week to feel shaky again this week. That’s normal, not a sign you’re doing something wrong.
What separates players who eventually get reliable altissimo from those who stay frustrated isn’t raw ability. It’s whether they kept logging attempts, kept testing fingerings methodically, and resisted the urge to add five new notes before the first one was stable.
Where can you test mouthpieces without committing blind?
If your practice plan is solid but your gear keeps introducing variables you can’t control, testing multiple mouthpieces side by side beats guessing from specs alone. Myclarinetstuff’s Mouthpiece Matchmaker walks you through matching tip opening, facing length, and material to your embouchure and register goals rather than leaving you to decode measurements on a product page.
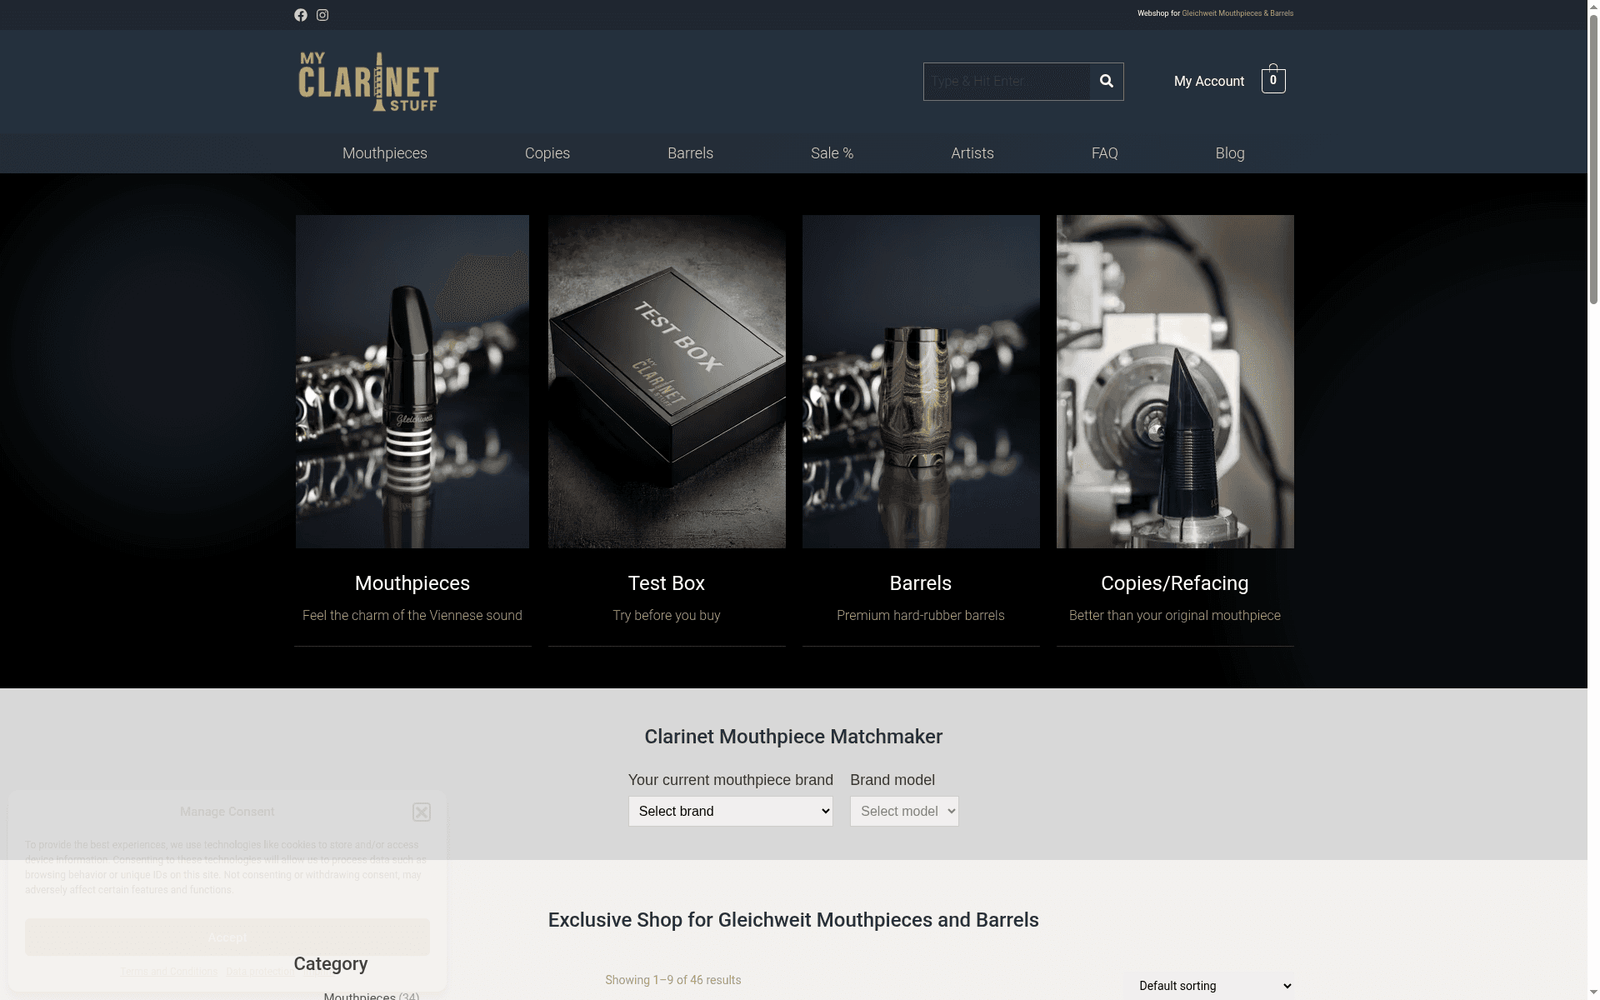
Because Gleichweit mouthpieces are CNC crafted from a synthetic material rather than traditional hard rubber, you get the same tip opening and facing length in every unit you try, which matters when you’re running the A/B tests described earlier in this article. A reed swap or a mouthpiece change becomes a real experiment instead of a guess, since your baseline doesn’t quietly drift between trials. Pair a mouthpiece test with the reed and mouthpiece guide if you want to isolate reed variables at the same time. Start by browsing the Mouthpiece Matchmaker and running your current altissimo passage on two or three options before deciding anything.
Frequently asked questions
What is the first note to practice when learning altissimo?
Written C6 is the standard starting point most pedagogical guidance recommends, since it sits just above the clarion register and responds well to basic voicing adjustments before you tackle higher, less stable notes.
How much time should I spend on altissimo practice each day?
Limit focused altissimo work to 5 to 8 minute sets within a 30 to 50 minute session, since embouchure fatigue sets in quickly at this range and pushing past it reinforces bad habits rather than good ones.
Why do my altissimo notes crack instead of speaking cleanly?
Cracking usually points to insufficient air speed or a vocal tract that’s too relaxed for the note. Try a brighter vowel shape like “ee” and increase focused air support before the attack.
Do I need a special mouthpiece for altissimo notes?
Not necessarily. Reed freshness and vocal-tract voicing solve most upper-register problems before a mouthpiece change does, though a tip opening and facing length matched to your embouchure through a tool like the Mouthpiece Matchmaker can help once fundamentals are solid.
How long does it realistically take to master the clarinet’s upper register?
Expect immediate small wins within the first week, reliable control over one or two notes within 2 to 6 weeks, and several stable altissimo notes usable in real passages by 8 to 12 weeks of consistent practice.
Sources
- PubMed: Vocal tract impedance measurements during altissimo playing
- Fritz & Wolfe (2005) — vocal tract impedance in clarinet playing
- Chen et al. (JASA): Vocal tract and bore impedance interaction
- A vowel-based method for vocal tract control in clarinet pedagogy
- The Complete Guide to the Clarinet Altissimo Register — Jenny Clarinet