


You assemble a clarinet in five moves: bell, then lower joint, then upper joint, then barrel, then mouthpiece, with the reed and ligature going on last or first depending on your preference. The core technique never changes: hold each section by its body, never by the keys, line up the bridge keys, and use a gentle push-and-twist motion. Cork grease only comes out when a joint genuinely resists.
TL;DR:
- Applying cork grease should be limited to when a joint feels stiff, as excessive use can attract debris and weaken the cork’s grip.
- Proper assembly involves gently pushing and twisting each section, starting with the bell to lower joint, then upper joint, barrel, and mouthpiece, in that order.
- Checking alignment from the bell to mouthpiece ensures that the bridge keys form a continuous line, preventing damage from misrotation during assembly.
- Fine tuning pitch involves adjusting the barrel and mouthpiece placement in small increments, using a tuner to achieve accurate intonation.
- Post-playing care includes swabbing each section immediately, drying the joints, and storing components carefully to prevent moisture damage and wear.
Table of Contents
- How Do You Assemble a Clarinet, Step by Step?
- How Do You Attach the Mouthpiece, Reed, and Ligature?
- How Do You Check Alignment and Avoid Beginner Mistakes?
- How Do Barrel and Mouthpiece Position Affect Tuning?
- How Do You Take Apart and Store a Clarinet Safely?
- What Do Manufacturers Say About Cork Grease and Wood Care?
- A Note From Milos on Building the Habit
- Still Working on Fit? Here’s Where MyClarinetStuff Comes In
- A Few More Places to Look
- Sources
How Do You Assemble a Clarinet, Step by Step?
Assembling a clarinet is really just five careful handshakes between sections. Rushing risks damage. Slow and gentle assembly helps joints slide together smoothly.
Before you touch a single piece, set up your space. Work over a table or your lap, not your knees while standing, and keep the case open flat so pieces have somewhere safe to rest. Check each part for obvious problems first: look at the pads for tears, check that no screws are visibly loose, and make sure the cork on each tenon (the connecting end of a joint) looks intact rather than flaking.
- Inspect before you assemble. Glance at the bore of each joint for cracks, and press a few keys gently to confirm they spring back on their own.
- Grease only if needed. If a joint feels stiff when you test-fit it, apply a thin, even layer of cork grease with your fingertip, covering the cork but not pooling it on. Buffet Crampon’s maintenance guidance is clear that grease is a fix for tight joints, not a routine step every single time you assemble.
- Attach the bell to the lower joint. Hold the lower joint by the wood or resin body, well away from the keys, and hold the bell by its rim. Push the two together while twisting gently in one direction until they seat fully.
- Attach the upper joint to the lower joint. This is the step where beginners bend rods, so pay attention. Gently raise the bridge key (the small lever that connects the two joints) on the lower joint with one hand, then bring the upper joint in so its own bridge key sits just above it. Push and twist slowly until the joint is fully seated and the two bridge keys line up in a smooth, continuous line.
- Attach the barrel. Slide the barrel onto the top of the upper joint using the same push-and-twist motion, checking that it seats flush with no visible gap.
Manufacturer instructions, including Selmer Paris’s official assembly guide, consistently describe this same bell to barrel order, which tells you it is not one blogger’s preference. It is simply the sequence that keeps the bridge keys protected and the tenons under the least stress.
Pro Tip: Practice this five-step sequence with the instrument sitting in your lap before you ever try it standing up. Your hands learn the grip faster when they are not also managing balance, and that muscle memory is what eventually lets you assemble a clarinet in under a minute without looking.
How Do You Attach the Mouthpiece, Reed, and Ligature?
Once the body is together, the mouthpiece assembly is where tone quality actually gets decided. A reed placed a hair off center or a ligature cranked too tight can undo a perfectly good body assembly.
Start with the reed. Moisten it by holding the vamp (the thin, shaved part) in your mouth for 20 to 30 seconds, or dip it briefly in a small cup of water. WikiHow’s step-by-step breakdown recommends this brief soak because a dry reed will not vibrate evenly and tends to crack faster.
- Line the reed up so its tip sits just barely below the mouthpiece tip, leaving a hairline of black mouthpiece visible along the very top edge.
- Hold the reed by its sides or back, never by the thin tip, while you position it.
- Slide the ligature over the mouthpiece and reed, screws facing whichever side matches your ligature type: most metal ligatures have screws on the reed side, while some leather and fabric designs place them elsewhere.
- Tighten the ligature screws until snug. You are securing the reed, not clamping it, so stop the moment it stops shifting.
Attach the mouthpiece to the barrel with the same gentle twist you used on the body joints, then check that the flat “table” of the mouthpiece lines up under the register key on top of the upper joint. That alignment matters more than people expect. A rotated mouthpiece throws off your embouchure before you even play a note.
You will notice some players attach the reed and ligature before mounting the mouthpiece on the barrel, while others mount the mouthpiece first and add the reed last. Both work fine. Attaching the reed first lets you inspect the tip alignment without the barrel in the way, which many beginners find easier. Attaching it last keeps the delicate reed tip further from accidental bumps while you are still handling the bulkier body sections. If you are new to this, try mounting the mouthpiece first and adding the reed last, since it keeps the most fragile part of the whole setup out of harm’s way the longest.
Pro Tip: If your ligature has a fabric or leather sleeve, loosen it slightly before sliding it over the mouthpiece and reed. Forcing a tight sleeve over the reed tip is one of the fastest ways to chip it before you have played a single note.
Curious how ligature choice changes your tone once the basics click? The role of ligature in clarinet sound covers that in more depth.
How Do You Check Alignment and Avoid Beginner Mistakes?
Look down the length of the assembled clarinet from the bell toward the mouthpiece. The bridge keys connecting the upper and lower joints should form one continuous, unbroken line with no step or offset between them. If you see a jog, the joint has rotated slightly and needs a small twist correction, not force.
Hand placement prevents most of the damage that happens during assembly. Grip the lower joint by the wood below the keys, the upper joint by the wood between the tone holes, and the barrel and bell by their plain surfaces. Never grab a joint by its keys or rods to twist it into place, even when it feels like the “handle” is right there.
The most common beginner errors, according to advice repeated across instrument retailer guides, all come from impatience:
- Forcing a joint that will not slide, rather than checking for a rotated bridge key or dry cork.
- Applying cork grease every single time out of habit, which builds up debris and eventually makes joints feel loose instead of snug.
- Overtightening the ligature until the reed cannot vibrate freely.
- Touching or pinching the reed tip while adjusting the ligature, which can crack a good reed in seconds.
A joint that will not seat within two gentle twists is telling you something is wrong, not that you need more strength. Stop, check for a rotated bridge key, wipe the tenon, and try again. If it still will not go, a technician can usually fix a swollen tenon or misaligned rod in minutes, and that is a far better outcome than a cracked joint.
How Do Barrel and Mouthpiece Position Affect Tuning?
A clarinet’s pitch shifts noticeably with how far the barrel and mouthpiece are pushed in, which makes this your first line of tuning defense before you touch anything else.
- Pushing the barrel in fully raises the pitch (sharper); pulling it out slightly lowers the pitch (flatter).
- The same logic applies to the mouthpiece on the barrel, though the effect is smaller than the barrel’s own movement.
- Mouthpiece placement also shapes tone quality and evenness across registers, not just raw pitch.
- Play a long, steady note against a tuner or a piano reference pitch, then adjust the barrel in tiny increments, no more than a millimeter at a time, until the note settles.
Treat this as fine tuning, not a fix for a badly out-of-tune instrument. If you are pulling the barrel out more than a couple of millimeters just to land in tune, something else, often the reed strength or the mouthpiece itself, deserves a second look. A teacher can usually tell within a minute whether the problem is your setup or your instrument.
How Do You Take Apart and Store a Clarinet Safely?
Disassembly is assembly in reverse, but the care you take afterward is what actually protects your investment. Rushing to pack up after a rehearsal is how tenon corks get cracked and pads get crushed.
- Remove the mouthpiece and reed first. Take the reed off gently, rinse it briefly if needed, and set it flat.
- Separate barrel, upper joint, lower joint, and bell, using the same body grip you used going on, twisting gently rather than pulling straight.
- Swab each section immediately. Drop a swab through the bell, upper joint, and lower joint to pull out moisture before it sits on the pads. The Kjos instructional guide recommends swabbing right after playing, not after the case is already packed.
- Dry the tenons with a soft cloth, wiping away any excess cork grease rather than leaving it to collect dust between sessions.
- Store the reed flat in a reed case, cap the mouthpiece to protect the tip and table, and lay each joint in its case slot without forcing the lid shut.
Swabbing right after you stop playing, rather than five minutes later while you chat with a bandmate, is the single habit that does the most to prevent moisture-related pad and cork damage over the life of the instrument.
What Do Manufacturers Say About Cork Grease and Wood Care?
Cork grease misuse is common enough that it deserves its own callout, straight from the people who build these instruments.
A thin, even film of cork grease is enough to ease a tight joint. Applying it heavily or every single time you assemble the clarinet does not make the joint easier over the long run. It attracts dust and grit, and that debris eventually wears down the cork’s own friction, which is the opposite of what you wanted.
That guidance lines up with what instrument-care researchers have documented about grease buildup destabilizing tenon fit over time. Wooden clarinets carry one more consideration synthetic instruments do not: during dry winter months, the wood can benefit from a light bore oiling, but that job belongs to a teacher or technician for anyone still new to the instrument, since over-oiling can do more harm than the dryness itself.
A Note From Milos on Building the Habit
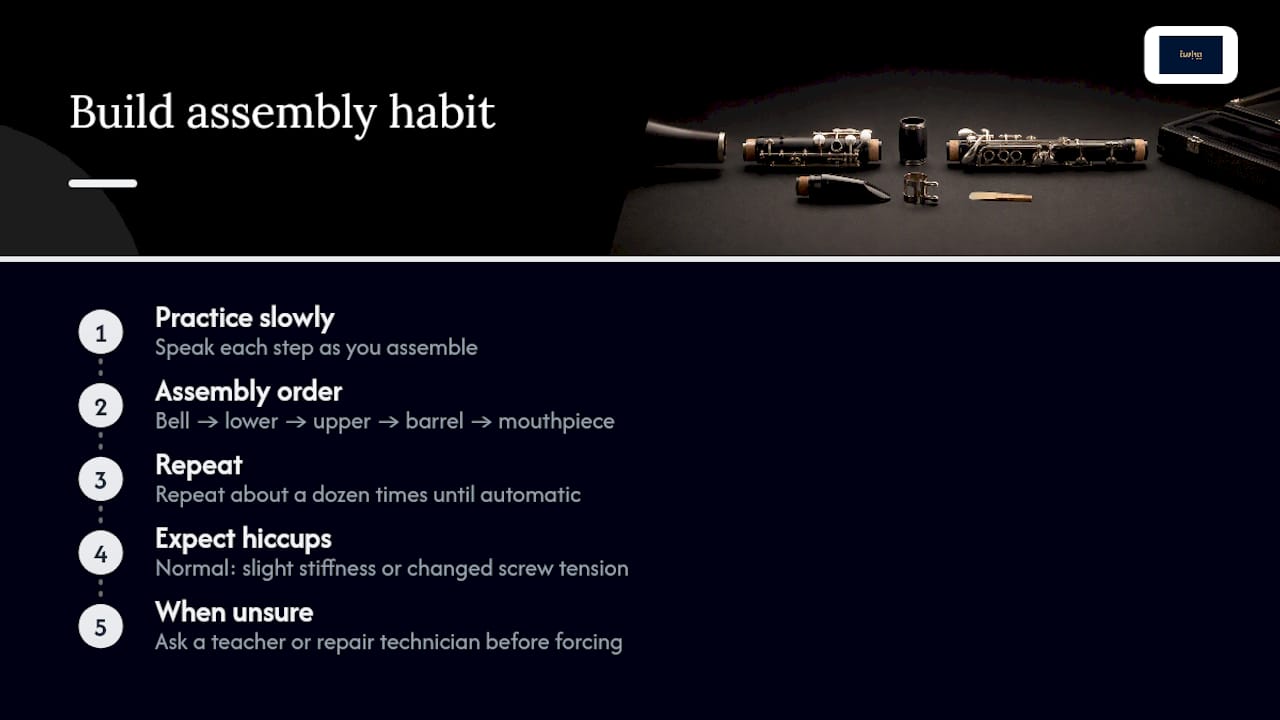
Assembly only feels awkward the first dozen times. Run through the sequence slowly, out loud if it helps, bell to lower joint to upper joint to barrel to mouthpiece, until your hands do it without you narrating each step. That repetition is what turns a checklist into muscle memory.
Small hiccups are normal. A joint that feels a touch stiffer on a humid day, a ligature screw that needs a slightly different tension than last week, none of that means you are doing it wrong. What matters is noticing when something feels genuinely off, not just unfamiliar, and asking a teacher or a repair technician before you force anything. That question costs you nothing and can save a joint, a pad, or a reed.
— Milos
Still Working on Fit? Here’s Where MyClarinetStuff Comes In
Assembly technique solves half the puzzle. The other half is whether the mouthpiece in your hand actually suits your embouchure, your reed strength, and the sound you are chasing, and that part usually takes months of trial and error with a rack of rentals.

We distribute CNC-crafted clarinet mouthpieces, made in Austria, alongside barrels and setup accessories built for exactly this stage of learning. Because every mouthpiece is machine-cut rather than hand-finished from hard rubber, two mouthpieces of the same model perform identically, so the fit problem you are solving is genuinely about your playing, not manufacturing variation. If you would rather test a few tip openings at home than guess from a store display, the Clarinet Mouthpiece Matchmaker walks you through finding a starting point, and the Test Box program lets you try up to five mouthpieces in your own practice space before committing to one.
A Few More Places to Look
For visual learners, the Selmer Paris assembly walkthrough and wikiHow’s photo guide both offer step-by-step images. Buffet Crampon’s maintenance page covers official cork grease and cleaning guidance worth bookmarking.
Sources
- How to assemble a clarinet – Henri SELMER Paris
- Maintain your instrument – Buffet Crampon
- How to Assemble a Clarinet — wikiHow
- Assembly and beginner instructions — Kjos instructional materials