
TL;DR:
- Choosing the right clarinet reed is a highly personal process that depends on your setup, technique, and playing style. Systematic testing, proper preparation, and careful comparison help you find a reed that responds easily, maintains good tone across registers, and feels physically comfortable. Regular rotation and ongoing experimentation ensure optimal performance and suit your evolving playing needs.
Finding the right clarinet reed is one of the most personal and frustrating parts of being a clarinetist. You open a fresh box, excited to play, and within minutes you realize half the reeds feel wrong — too stiff, too soft, squeaky, or unresponsive. Sound familiar? The truth is that reed selection is a skill, and like any skill, it gets easier when you follow a clear process. This guide walks you through exactly what you need, how to test reeds systematically, what to compare, how to troubleshoot problems, and how to know with confidence when you’ve found the right match.
Table of Contents
- What you need before selecting a reed
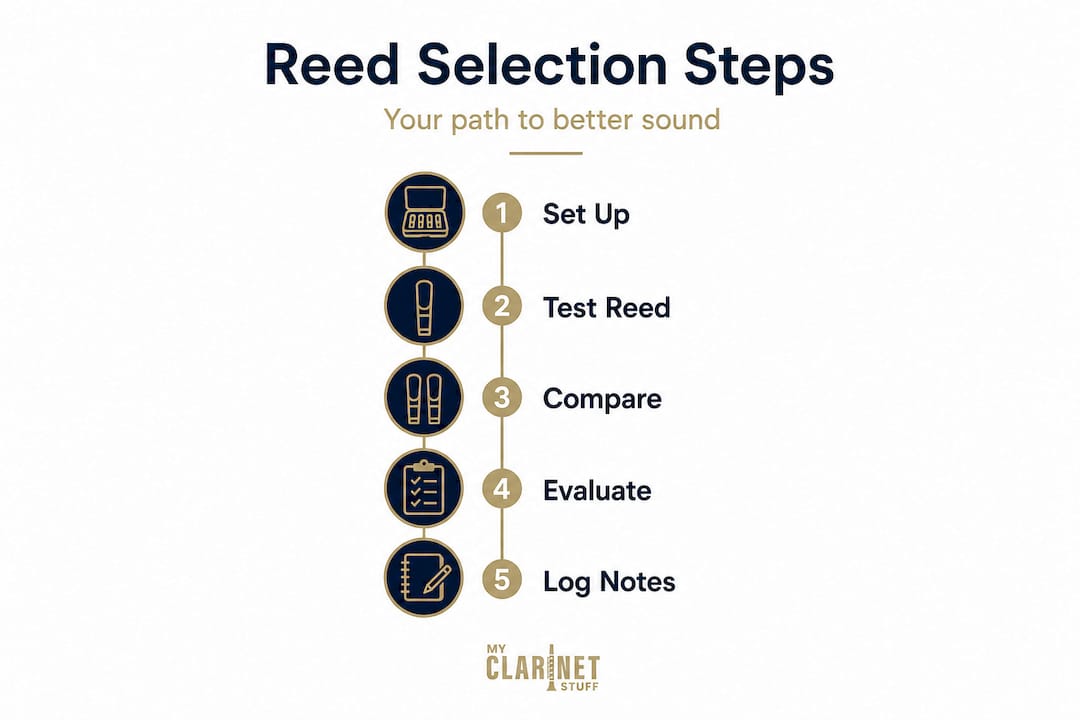
- Step-by-step process for testing clarinet reeds
- How to compare different reed options
- Common mistakes and how to troubleshoot reed selection
- How to know when you’ve found the right reed
- Why “one size fits all” doesn’t work for reed selection
- Take your setup further: Tools and resources for clarinetists
- Frequently asked questions
Key Takeaways
| Point | Details |
|---|---|
| Materials and setup matter | Having the right mouthpiece, ligature, and reed type is essential for effective selection. |
| Systematic testing wins | Step-by-step testing across registers helps reliably identify the best reed for you. |
| Comparison is key | Use side-by-side comparisons of strengths, cuts, and brands to find your ideal match. |
| Avoid common mistakes | Rotating reeds, tracking preferences, and adjusting strength by 0.5 can save time and frustration. |
| Personalization beats generic advice | Your best reed depends on your setup, style, and experimentation—trust your own results. |
What you need before selecting a reed
Before you put a single reed in your mouth, set yourself up for success. Reed selection is only as reliable as the rest of your setup.
Your clarinet setup matters first. Your mouthpiece and ligature directly affect how a reed performs. A mouthpiece with a narrow tip opening will respond better to a harder reed, while a wider opening favors softer reeds. Understanding reed compatibility basics before you test will save you a lot of guesswork. The ligature also plays a role — a loose or poor-fitting ligature affects vibration and can make even a great reed sound flat and unresponsive.
Know your reed types. Reeds come in different strengths, materials, and cuts. Strength is rated on a numbering scale, typically from 1.5 to 5. Lower numbers are softer and easier to blow; higher numbers offer more resistance and fuller tone. Most beginners start around 2.5 to 3, while advanced players often work in the 3 to 4 range. Reeds are made from cane or synthetic materials. Cane reeds have natural variation but offer a warm, resonant tone. Synthetic reeds are consistent and weather-resistant. Cuts matter too: filed reeds have material removed near the shoulder for quicker response, while unfiled reeds feel denser and need slightly more break-in time. For a deeper look at mouthpiece and reed pairing, check our dedicated guide.
Gather your tools. You don’t need much, but having the right items nearby makes the process cleaner:
- A flat glass surface or mirror for visually inspecting reeds
- A pencil or marker to label reeds you want to revisit
- A reed case to store and protect candidates
- A cup of water for moistening
- A reed strength chart, because brand numbering is not universal — a Vandoren 3 and another brand’s 3 may feel noticeably different in your hand
| Reed strength | Player level | Typical feel |
|---|---|---|
| 1.5 to 2 | Beginner | Very easy blow, bright tone |
| 2.5 | Beginner to intermediate | Easy to moderate |
| 3 | Intermediate | Balanced resistance |
| 3.5 | Advanced intermediate | More control, fuller tone |
| 4 to 5 | Advanced / professional | High resistance, dark tone |
Pro Tip: Start a simple notebook log. Write down the brand, strength, and cut of each reed you try, along with notes on how it felt. Over time, you’ll see patterns specific to your mouthpiece and embouchure.
Step-by-step process for testing clarinet reeds
Once you have everything ready, here’s how to systematically test and evaluate your reeds.
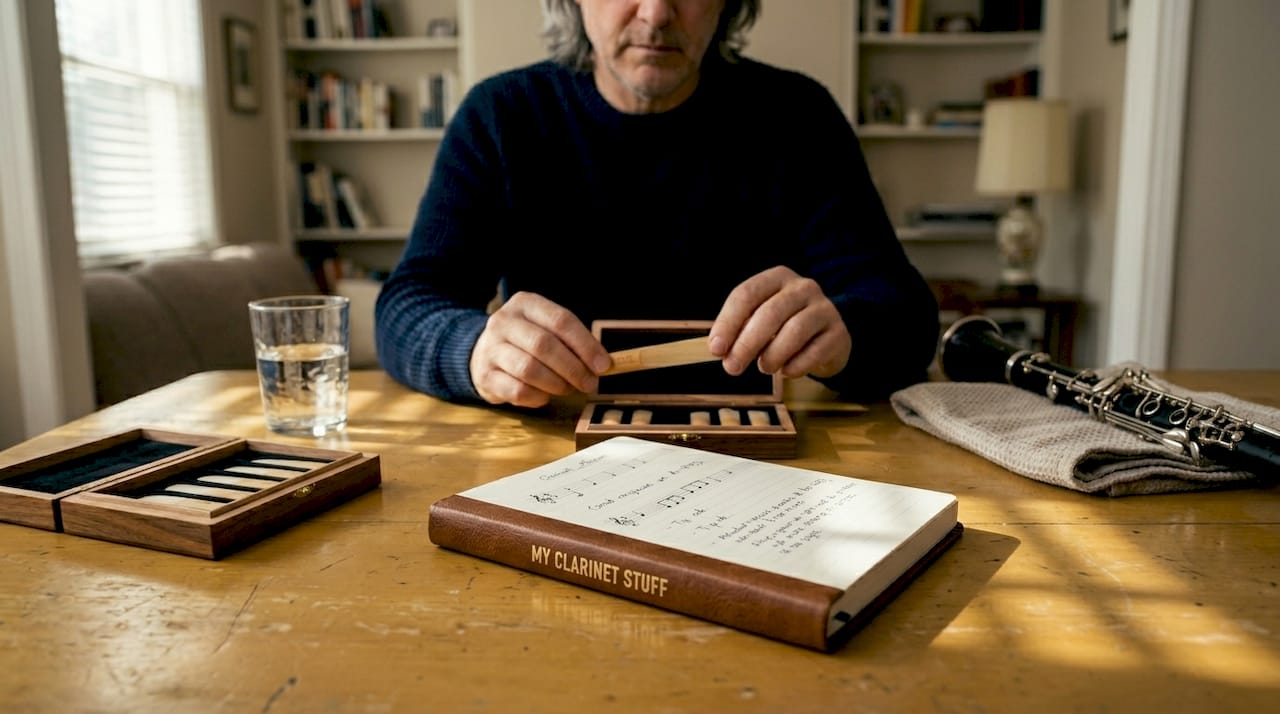
Don’t rush this process. Testing a reed in the first 30 seconds tells you almost nothing. Reeds need to warm up with moisture and playing before they settle into their real character. Experienced clarinetists know that a reed that feels stiff at first often opens up beautifully after five minutes of play.
Follow this sequence for each reed you evaluate:
- Soak the reed for 30 to 60 seconds in clean water. It should feel pliable but not soggy.
- Mount it carefully on the mouthpiece and align it evenly with the tip. Asymmetric placement throws off response immediately.
- Play long tones in the middle register (throat tones and clarion register) for two to three minutes. Listen for evenness and stability.
- Assess tone and response. Does the reed speak quickly or does it feel sluggish? Is the tone warm and centered, or thin and airy? Adjusting tone and response involves listening critically at both soft and loud dynamics.
- Test across all registers. Move through the chalumeau (low register), throat tones, clarion (middle), and altissimo (high). A good reed should respond consistently across all three, not just where you’re most comfortable.
- Check intonation. Play a tuner alongside long tones. Reeds that are too hard often push pitch sharp in the high register. Reeds that are too soft go flat when you push for volume.
- Play at different dynamic levels. A reed that only works at mezzo-forte is not a reliable reed. Test pianissimo passages to see if the tone holds without cracking.
- Evaluate physical strain. Are you gripping your embouchure harder than usual? Jaw tension, headaches after short practice, or an aching lower lip are signs the reed is too hard for you right now.
- Adjust by half a strength if something feels off. If you’re straining, try a 0.5 softer reed. If response feels vague and airy, try 0.5 harder.
Pro Tip: Keep three to four reeds in active rotation. Playing the same reed every session wears it out faster and gives you no baseline for comparison. Rotating reeds extends their life and keeps your sound consistent.
Explore reed selection tips and example reeds for testing to build your initial test set.
Quick stat: Most professional clarinetists reject between 30% and 50% of reeds from a fresh box as unplayable without adjustment. Setting realistic expectations prevents discouragement.
How to compare different reed options
After initial testing, you’ll want to make more detailed comparisons among options.
Side-by-side comparison is where many clarinetists skip a step and end up going in circles. The goal is not to find the “best” reed on paper. It’s to find the reed that works best for your mouthpiece, your embouchure, and your repertoire.
Filed vs. unfiled is one of the biggest practical differences. Filed reeds respond faster because the shoulder material is removed, allowing more immediate vibration at the tip. This makes them popular in orchestral playing where clean articulation and precise entries matter. Unfiled reeds feel slightly denser and take a little longer to break in, but many players feel they produce a richer, fuller tone in the low register. Understanding reed type differences can help you decide which cut suits your playing style.
Brand-to-brand variation is real but often overstated. What matters far more is whether the reed’s strength and cut match your mouthpiece geometry. A highly reviewed brand means nothing if the tip opening of your mouthpiece is not suited for it. Use reed strength charts to cross-reference brands when switching — some brands run consistently softer or harder than their number suggests.
| Comparison factor | What to look for |
|---|---|
| Strength | Match to mouthpiece tip opening and your embouchure |
| Cut (filed/unfiled) | Filed for faster response; unfiled for warmer tone |
| Brand consistency | Some brands vary more reed-to-reed than others |
| Price | Higher price does not always mean better performance |
| Durability | Synthetic reeds last longer; cane reeds peak faster |
| Material | Cane for warmth; synthetic for weather stability |
Key factors to compare when evaluating reeds:
- Strength relative to your mouthpiece opening
- Cut style and how it affects response in your target register
- Consistency within a box or batch
- Price per reed and realistic longevity
- Brand reputation for your genre (classical, jazz, folk clarinetists have different tonal priorities)
“There is no universally perfect reed — only the right reed for you, your setup, and the music you’re playing today.”
Some professional players intentionally choose reeds half a strength softer than their usual for flexibility in lyrical solo passages. Others go slightly harder for projection in ensemble settings. Neither is wrong. Both are intentional choices made through experience.
Common mistakes and how to troubleshoot reed selection
Even with careful testing and comparison, mistakes happen — here’s how to spot and fix them.
The most common mistake is playing on just one reed. When it starts to feel off, you push through it instead of rotating. One reed deteriorates faster, warps from consistent moisture cycling, and starts producing inconsistent results. This makes you think the problem is your embouchure or your technique, when really the reed just needs a rest.
Common mistakes and their fixes:
- Sticking with a single reed: Start a rotation of three to four reeds and label each one
- Ignoring early warning signs: Squeaking in the upper register and flat pitch in piano dynamics are both reed signals, not player errors
- Skipping the warm-up soak: A dry reed damages faster and never vibrates freely in the first session
- Ignoring brand and cut differences: Switching brands without adjusting strength is a frequent source of frustration
- Choosing strength by number alone: Always test, because numbers vary by brand
When troubleshooting response problems, the adjusting reeds guide is a practical resource. For a full maintenance system, the reed care workflow covers every step from soaking to storage. Proper adjustment techniques can also rescue reeds that feel almost right but not quite there.
“The reed you played beautifully last Tuesday may need a rest by Thursday. That’s not failure — that’s natural reed behavior. Rotate and come back to it.”
Pro Tip: Keep a reed journal. Write down each reed’s brand, strength, cut, and a short note on how it performed that day. After a few months, you’ll have reliable personal data that no chart can give you.
How to know when you’ve found the right reed
Once you’ve fixed common issues, use these guidelines to know you’ve truly found your best reed.
A great reed feels easy. Not effortless in the sense that you do nothing, but easy in the sense that the instrument responds where and how you expect it to. You’re not fighting for the note. You’re shaping it.
| Benchmark | Ideal result |
|---|---|
| Low register (chalumeau) | Full, resonant tone without stuffiness |
| Throat tones | Even, stable, no airy quality |
| Clarion register | Consistent response at all dynamics |
| Altissimo | Reachable without excessive embouchure pressure |
| Intonation | Stable across registers on a tuner |
| Physical comfort | No jaw fatigue after 20 to 30 minutes |
| Consistency | Same results in second and third session |
Final validation steps to confirm your reed choice:
- Play the reed in two separate sessions at least one day apart. A reed that plays well twice is genuinely reliable.
- Test it at performance dynamics, including the softest pianissimo you’d use in a concert.
- Run through the most technically demanding passage in your current repertoire. Does the reed keep up?
- Compare the clarinet reed examples you’ve tested side by side and rank them honestly.
- Trust your ear. If you sound better, feel better, and play more confidently, that is your reed.
Research on reed testing confirms that response, intonation, and physical comfort are the three pillars of a successful reed match. All three need to work together, not just one.
Why “one size fits all” doesn’t work for reed selection
Here’s an opinion you won’t always hear: the clarinet world tends to over-recommend certain reeds and strengths as if there’s a correct answer waiting to be discovered. There isn’t. There’s only the answer that works for you, now, with your current setup and technique.
Two players can sit side by side with the same brand, same strength, same mouthpiece, and one will love the reed while the other struggles with it. Embouchure shape, air support, oral cavity size, and even humidity in your practice room all affect how a reed performs. No chart accounts for all of that.
The clarinetists we work with at MyClarinetStuff.com who make the fastest progress are not the ones who found the “perfect” reed. They’re the ones who treat reed selection as an ongoing practice, not a final answer. They experiment with clarinet practice essentials and revisit their reed preferences as their technique grows.
As your embouchure develops and your air support strengthens, you’ll likely find yourself moving toward slightly harder reeds over time. That’s natural. A reed that felt too resistant at intermediate level often becomes your favorite two years later. Reed selection should evolve with you. Revisit your choices every few months, stay curious, and never assume last year’s answer is still right today.
Take your setup further: Tools and resources for clarinetists
You’ve honed your reed selection, so here’s how to build the rest of your ideal clarinet setup.
Finding the right reed is a foundational step, but it’s only one part of what makes your clarinet sing. At MyClarinetStuff.com, we’ve built a full range of resources designed to help clarinetists at every level make smarter decisions about their entire setup.

Our clarinet accessory selection guide walks you through everything from barrels to ligatures. If you’re unsure which mouthpiece works best with your reeds and playing style, start with our mouthpiece matchmaker to narrow down the right fit. For players focused on performance, the performance accessories guide covers the tools that make a real difference on stage. Gleichweit mouthpieces, precision-crafted in Austria and available through us, are designed to pair consistently with a wide range of reed strengths, giving you one less variable to worry about.
Frequently asked questions
How do I know if my clarinet reed is too hard or too soft?
A reed that is too hard requires excessive blowing effort and tends to produce a muffled or closed sound, while a too-soft reed squeaks easily and goes flat under dynamic pressure. Try adjusting by half a strength in either direction and test again.
What does filed vs. unfiled mean for clarinet reeds?
Filed reeds have material removed from the shoulder area, producing faster, quicker response right away, while unfiled reeds tend to feel denser and may offer a warmer, darker tone once broken in. Your choice depends on your playing style and the register you prioritize most.
Do I need to wet or soak the reed before playing?
Yes, always moisten your reed thoroughly before playing — 30 to 60 seconds in clean water — because a dry reed vibrates unevenly and fatigues faster, which affects your tone and the reed’s long-term life.
How often should I rotate clarinet reeds?
Rotate through three to four reeds daily to allow each reed to rest and dry fully between sessions, which extends their life, maintains consistent vibration, and gives you a reliable baseline for comparing performance.