


What reed strength and brand should beginners start with?
For most new clarinet students, reed strengths of 2.0 or 2.5 offer the best balance of playability and tone stability. These strengths respond well to developing embouchure muscles without demanding the air pressure that harder reeds require. Very young students or those with limited breath support may find softer reeds more forgiving in the first few weeks (usually strength 1.5).
Two brands stand out for beginners in 2026: Vandoren JUNO and Rico by D’Addario. Both are designed for student players, with cuts that respond easily and reduce the squeaking and inconsistency that frustrate new players. They are widely available at U.S. music retailers and priced accessibly for students buying by the box.
Quick-start reed recommendations for beginners:
- Strength 2.0: Best starting point for most beginners, including children on standard student mouthpieces
- Strength 2.5: A solid choice for adult beginners with good natural breath support
- Strength 1.5: Best for very young players or those with smaller lung capacity
- Vandoren JUNO: Easy response, consistent quality, excellent for first-year students
- Rico by D’Addario: Affordable, widely available, student-friendly cut
- Avoid strengths above 3.0 until embouchure has developed through several months of regular practice
1. Understanding clarinet reed basics and terminology
A clarinet reed is a thin strip of cane that vibrates against the mouthpiece when you blow air through the instrument. That vibration is what creates sound. Without a properly matched reed, even a quality clarinet and mouthpiece will produce a thin, unstable tone.
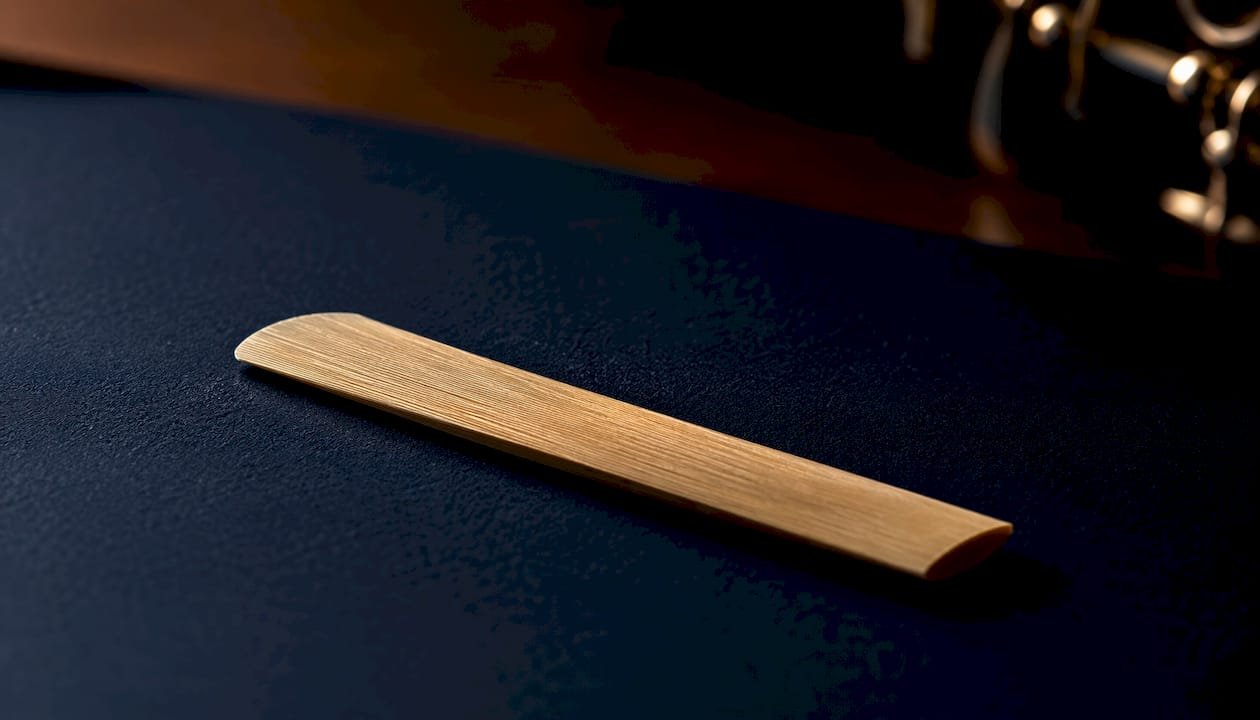
Reed strength describes stiffness, not thickness, and runs on a scale from 1 (very soft) to 5 (very hard). Softer reeds vibrate with less air pressure, making them easier for beginners to produce a sound. Harder reeds offer richer tone and more dynamic control, but they require embouchure strength that takes months to build. Professionals typically play between strengths 3 and 4, so there is no need to rush toward higher numbers.
Most reeds are made from Arundo donax, a species of cane that grows primarily in southern France and Argentina. Because cane is a natural material, every reed is slightly different. You may open a box of ten and find that seven play beautifully while two feel stiff and one feels unresponsive. That variability is normal, not a defect.
Synthetic reeds are made from polymer or composite materials. They are more consistent from reed to reed and unaffected by humidity changes, but some players find they lack the warm, organic tone of cane. For beginners still developing their ear and embouchure, that tonal difference is usually less noticeable.
Key reed parts and terms:
- Tip: The thinnest part of the reed; where vibration begins and sound sensitivity is highest
- Heart: The slightly thicker central area that controls flexibility and tonal response
- Shoulder: The wider, thicker section near the flat base of the reed
- Vamp: The scraped, tapered area that determines how the reed responds to air
- Bark: The unscraped back surface of the reed that sits against the mouthpiece table
- French file cut: A style with a thin fil (file) cut near the base, offering faster response; common on student reeds
- Reed strength scale: Varies by brand, so a 2.5 from one maker may feel different from a 2.5 from another
2. How to choose the right clarinet reed for beginners
Matching reed strength to your current embouchure is the single most important factor in choosing clarinet reeds. Starting too hard is one of the most common beginner mistakes. When a reed requires more resistance than your embouchure can comfortably handle, you end up biting down on the mouthpiece to compensate, which creates a pinched, sharp tone and leads to jaw fatigue within minutes.
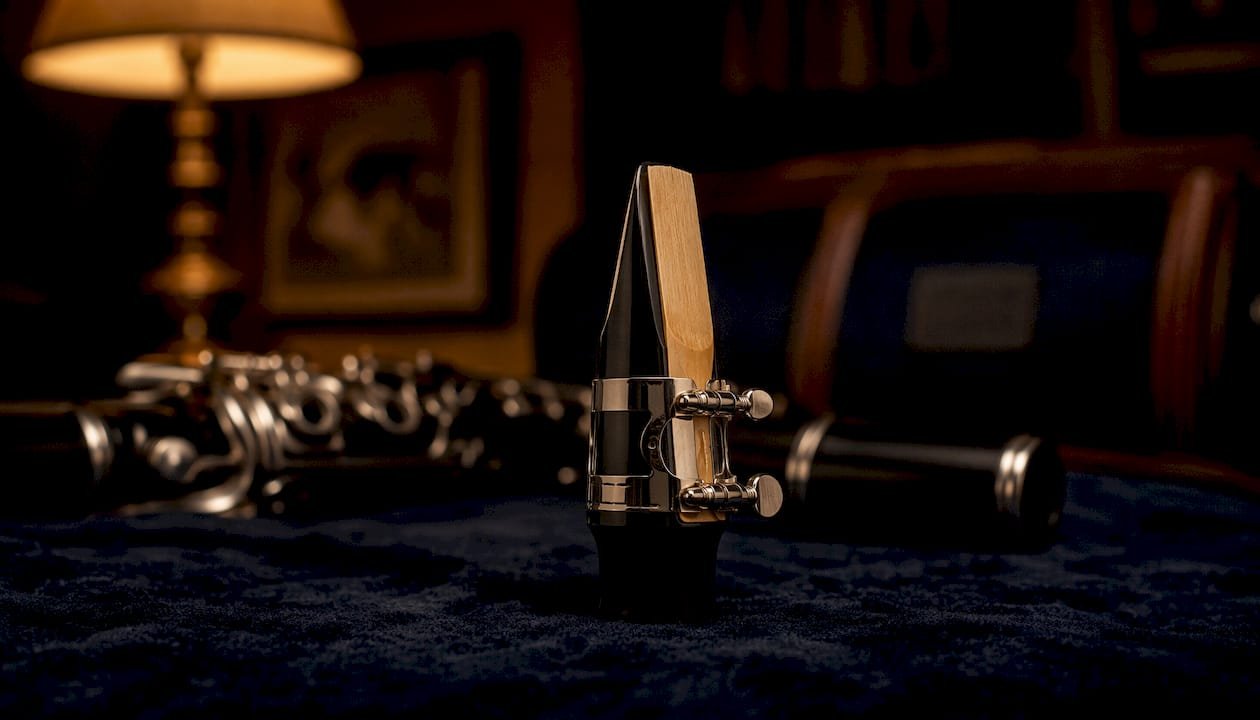
Harder reeds do not mean better quality. The goal is to find the strength that allows a clear, centered tone with moderate air pressure and a relaxed jaw. If you have to strain to get a sound, the reed is too hard. If the tone sounds buzzy and thin with no control over dynamics, the reed is likely too soft.
Cane vs. synthetic for beginners: Cane reeds are the standard recommendation for new students because they develop tonal sensitivity and teach you to listen carefully to response. Synthetic reeds are durable and less affected by humidity, making them a practical option for students who play outdoors, live in very dry climates, or struggle with the variability of cane. If you choose synthetic, start at a strength that feels one step softer than your usual cane reed.
Testing a reed for suitability: Play long tones on middle G, F, and E. The sound should arrive without forcing. If you feel dizzy or exhausted after a few minutes, the reed is working against you. Good response means the note speaks immediately with a relaxed embouchure and steady air.
Reed selection criteria for beginners:
- Match strength to your current embouchure, not the strength you hope to reach
- Buy a full box rather than individual reeds so you can compare and rotate
- Try both Vandoren JUNO and Rico to see which responds better with your specific mouthpiece
- Check that the reed lies flat against the mouthpiece table with no visible gaps
- Inspect each reed for cracks, uneven grain, or discoloration before playing
- Consider your mouthpiece tip opening: a more open facing generally pairs better with a slightly softer reed
Pro Tip: Rotate through three to five reeds from the same box during your first week. You will quickly identify which ones respond most consistently, and you will avoid over-relying on a single reed that may be masking a fit problem.
3. How to break in and care for new clarinet reeds
New cane reeds are at their most porous when they come out of the box. Playing a brand-new reed for a long session immediately is one of the fastest ways to waterlog it and shorten its life. A gradual break-in process conditions the wood fibers to accept moisture evenly and respond consistently over time.
The break-in process, step by step
- Introduce moisture first. Soak the reed tip-down in bottled water for 1–2 minutes. Using bottled water avoids the mineral content in tap water, which can break down reed fibers more quickly. Alternatively, hold the reed in your mouth for several seconds before playing.
- Play briefly. Play a few gentle long tones in the low register for no more than five minutes. The goal is to introduce the reed to vibration, not to practice your full repertoire.
- Rub from shoulder to tip. After playing, remove the reed and rub it firmly from the shoulder toward the tip between your thumb and index finger several times. This trains the wood fibers to lie flat rather than curl, and it lightly seals the pores so the reed accepts moisture without becoming waterlogged.
- Dry flat. Place the reed on a clean, flat surface to air dry completely before storing it.
- Repeat daily for 7–10 days. Each day, play a little longer and move slightly higher in register. By the end of this period, each reed will have settled into its own character, some softer, some harder, some more resonant than others.
Pro Tip: Never break in just one reed at a time. Work through three to five reeds simultaneously, giving each one rest between sessions. You will always have a playable reed available while your new ones condition.
Daily reed care habits:
- Rinse the reed with clean water after each session to remove saliva and debris
- Dry flat on a smooth surface, never leave it on the mouthpiece
- Store in a ventilated reed case that holds reeds flat without pressure on the tip
- Rotate multiple reeds to allow recovery time between sessions and maintain consistent tone
- Avoid storing reeds in airtight containers while still damp, as trapped moisture promotes mold
- Keep reeds away from extreme heat, direct sunlight, and air conditioning vents
4. Common beginner questions about clarinet reeds
When should I replace a reed?
Reeds typically last around 10 hours of playing time, or roughly 2–4 weeks for a student practicing daily. The clearest signs that a reed needs replacing are visible chips or cracks along the tip, dark discoloration across the vamp, and pitch instability that does not improve after soaking. If you find yourself biting harder to control the tone, the reed has likely softened past its useful life.
Should I use cane or synthetic reeds as a beginner?
Cane is the standard starting point because it teaches you to listen and adapt. Synthetic reeds offer consistency and durability, which can reduce frustration for students in humid or dry environments. Neither is wrong. Many beginners start on cane and keep a few synthetic reeds as reliable backups for lessons and performances.
Why does my reed squeak?
Squeaking usually comes from one of three sources: the reed is too soft and vibrating unevenly, the reed is not seated correctly on the mouthpiece, or the embouchure is inconsistent. Check reed placement first. The tip of the reed should align precisely with the tip of the mouthpiece, with just a sliver of the mouthpiece tip visible above the reed.
How many reeds should I own at once?
Rotating 3–5 reeds prevents sudden changes in embouchure effort and extends each reed’s lifespan by allowing recovery time between sessions. Owning a full box of ten also gives you enough variety to identify the two or three best-performing reeds in that batch.
Practical tips for everyday reed use:
- Always soak before playing, even a broken-in reed benefits from 30 seconds of moisture
- Inspect reeds visually before each session; a quick look catches chips before they ruin a practice
- Never leave a reed on the mouthpiece after playing, the pressure warps the tip over time
- Mark your reeds with a pencil to track which ones perform best
- If a reed feels suddenly harder or softer than usual, check the humidity in the room before blaming the reed
5. Expert advice on reed adjustment and selection from Myclarinetstuff
Once you have a few months of playing under your belt, you will notice that not every reed in a box performs equally. Some feel slightly harder, some brighter, some more resistant in the upper register. That variability is where reed adjustment techniques become valuable.
Matching reed to mouthpiece tip opening is the most overlooked factor in beginner setups. A mouthpiece with a wider tip opening requires a softer reed to balance resistance. A tighter facing can support a slightly harder reed. Most student mouthpieces have a medium-close facing, which pairs well with strength 2.0 or 2.5. If you upgrade your mouthpiece, you may need to revisit your reed strength entirely.
Saliva chemistry affects reed longevity more than most beginners realize. Some players’ saliva contains enzymes that accelerate fiber breakdown, causing reeds to soften and darken within days. If your reeds consistently deteriorate faster than expected, switching to bottled water for soaking can meaningfully extend their life.
Selective sanding is an advanced technique for fine-tuning a reed that plays well overall but has one stubborn register problem. Light sanding on the tip area can improve response in soft dynamics and the high register. Work in tiny increments and test after each pass. Removing too much material from the tip permanently ruins the reed, so this technique rewards patience.
Expert selection and adjustment strategies:
- Rotate 3–5 reeds consistently; this single habit has the largest impact on tone consistency
- Match reed strength to your mouthpiece’s tip opening, not just your experience level
- Use bottled water for soaking if your reeds darken or soften unusually fast
- Rub from shoulder to tip after every session to train fiber alignment and prevent curling
- Mark each reed after break-in with a rating (soft, medium, hard) so you can grab the right one for different repertoire
- Approach sanding only after mastering break-in and rotation; adjustment before conditioning is wasted effort
- Consult a teacher or the reed compatibility guide at Myclarinetstuff before making permanent adjustments
Key Takeaways
Starting with the right reed strength and building consistent care habits from day one gives beginners the clearest path to steady progress and a reliable, full tone.
| Point | Details |
|---|---|
| Start at strength 2.0 or 2.5 | These strengths give most beginners easy response without sacrificing tone stability. |
| Choose trusted student brands | Vandoren JUNO and Rico by D’Addario are designed for student cuts and reduce early frustration. |
| Break in reeds gradually | Soak, play briefly, rub from shoulder to tip, and repeat daily for 7–10 days per new reed. |
| Replace reeds every 2–4 weeks | Chips, discoloration, and pitch instability signal it is time for a fresh reed. |
| Myclarinetstuff reed resources | Use the Myclarinetstuff reed adjustment guide and compatibility guide to match reeds to your mouthpiece setup. |
The part of reed selection nobody talks about enough
Most beginner guides treat reed selection as a one-time decision: pick a 2.0, buy a box of Vandoren JUNO, done. That framing misses something important. Reed selection is actually a moving target, and the players who progress fastest are the ones who treat it as an ongoing conversation with their equipment rather than a problem to solve once and forget.
Here is what I find genuinely underappreciated: the relationship between your reed and your mouthpiece matters far more than the reed brand itself. A student playing a Vandoren JUNO 2.5 on a wide-tip-opening mouthpiece may struggle with resistance that feels like a 3.0. The same reed on a medium-close student mouthpiece plays exactly as labeled. Brand comparisons and strength debates are almost meaningless without knowing the mouthpiece in the equation.
The second thing worth saying plainly: beginners quit reeds too early and too late. They throw away a reed after one bad session because it squeaked, not realizing the reed was still conditioning. Then they play a reed two weeks past its useful life because it “still works,” not noticing that their embouchure has been compensating for a softened tip the whole time. Building the habit of visual inspection and rotation is not fussy or obsessive. It is the fastest way to stop blaming yourself for tone problems that are actually equipment problems.
Patience with the break-in process pays off in ways that are hard to overstate. A reed that has been properly conditioned over 7–10 days will perform more consistently across temperature and humidity changes than one that was rushed into heavy rotation on day one. That consistency matters most in lessons and performances, exactly when you need your equipment to be predictable.
Your mouthpiece and reed work together, not in isolation
Reed selection does not happen in a vacuum. The mouthpiece you pair with your reeds shapes how every strength and brand actually feels under your fingers. A student reed on a poorly matched mouthpiece will underperform no matter how carefully you break it in.

At Myclarinetstuff, we built the Clarinet Mouthpiece Matchmaker specifically to help students and educators find the right mouthpiece for their playing level, reed preference, and tonal goals. Our Gleichweit mouthpieces are precision CNC-crafted in Austria, delivering the kind of consistency that makes reed selection more predictable and less frustrating. When your mouthpiece has a stable, well-defined tip opening and facing, your reed choices become clearer immediately.
We also offer an exclusive at-home test box program so you can hear the difference before committing. For students ready to move beyond a basic student setup, exploring beginner mouthpiece options at Myclarinetstuff is a natural next step alongside refining your reed routine.
One Response