


Three changes produce the most immediate gains in tonal clarity: send fast, focused air with regulated rib-driven support; raise your tongue to an “ee” position to shape and steer the air column; and test your mouthpiece and barrel alone before adding the instrument. You can hear the difference in under 60 seconds.
Quick 60-second A/B check:
- Play a long tone on the full clarinet, then remove the body and play mouthpiece plus barrel only, targeting concert F#. Notice whether the tone centers or spreads.
- Whisper “ee” silently, hold that tongue shape, then blow. Compare the focus of the tone before and after.
- Tighten your embouchure seal at the corners (no air escaping the sides) and repeat the long tone. Listen for added projection.
Pro Tip: Record both versions on your phone. The difference in focus is often more obvious on playback than it is in the moment.
Key Takeaways
Regulated rib-driven support paired with raised “ee” voicing produces the most immediate, measurable improvement in clarinet tonal clarity, and systematic mouthpiece testing confirms whether equipment is amplifying or limiting that technique.
| Point | Details |
|---|---|
| Support as regulated release | Drive exhalation with rib descent and abdominal engagement, not stomach pushing, for consistent air pressure. |
| Voicing controls focus | Raise the tongue to “ee” to speed and center the air column; “ah” spreads the tone. |
| Test mouthpiece and barrel alone | Target concert F# on mouthpiece and barrel to isolate voicing before adding the instrument body. |
| Control variables when testing gear | Use the same reed, barrel, and humidity across A/B mouthpiece tests for results you can trust. |
| Myclarinetstuff test box | The Gleichweit Test Box Variety Pack delivers matched CNC-machined mouthpieces for structured at-home comparison. |
Table of Contents
- What’s your pre-rehearsal sound clarity checklist?
- How do support, embouchure, voicing, and articulation control clarity?
- What equipment setup gives you the clearest clarinet tone?
- How do you diagnose and fix the most common clarity problems?
- What daily practice routine builds lasting tonal clarity?
- How do you run a systematic mouthpiece test at home?
- Quick rules for choosing a mouthpiece, reed, and ligature for clarity
- How do you set up a standardized mouthpiece testing environment?
- How do humidity and temperature affect your clarinet’s sound clarity?
- Which mouthpiece materials and models support the clearest tone?
- Reed selection and adjustment beyond strength
- The real balance between technique and gear
- Try Gleichweit mouthpieces at home with a Myclarinetstuff test box
- Sources
What’s your pre-rehearsal sound clarity checklist?
Running a quick diagnostic before you play saves you from chasing problems mid-rehearsal. Work through these steps in order, since each one can mask the next if skipped. For a deeper version of this sequence, the 7-step clarinet sound improvement checklist at Myclarinetstuff covers the full expert-level diagnostic.
- Posture: Feet flat, weight balanced, bell angled slightly out. Collapsed posture restricts rib movement and kills support.
- Reed check: Is the reed hydrated? Flat on the table of the mouthpiece? A warped or dry reed produces a fuzzy, spread tone before you play a single note.
- Embouchure check: Corners firm, no puffed cheeks, chin flat. Loose corners leak air and thin the sound.
- Voicing: Tongue in “ee” position. If your default is “ah,” the air column is too wide and unfocused.
- Support: Feel your ribs expand on the inhale, then regulate the release on the exhale. Pushing from the stomach alone creates uneven pressure.
- Instrument fit: Check tenon corks for snug fit. Loose joints bleed air and destabilize intonation.
- Quick mouthpiece test: Play mouthpiece plus barrel alone, targeting concert F#. If the pitch is flat or the tone is spread, adjust voicing before adding the body.
Pro Tip: Treat this list as a diagnostic order, not a warm-up order. Fix each problem before moving to the next step, and you’ll spend far less time troubleshooting during the session.
How do support, embouchure, voicing, and articulation control clarity?
The single most effective technical change you can make is pairing regulated rib-driven support with a raised, focused tongue position. Everything else builds on those two.
Breath support as regulated release
Support is not about pushing air from the stomach. The ICA’s pedagogy guidance frames it as a coordinated regulation of exhalation driven by rib descent and abdominal engagement working together. Place one hand on your ribs and one on your abdomen. Inhale and feel the ribs expand laterally. On the exhale, let the ribs descend slowly while the abdomen engages to maintain pressure. Practice this on a single long tone, pianissimo to forte, keeping the rib movement conscious and controlled.

Embouchure stability and shaping
The embouchure does two jobs: it seals the mouthpiece and shapes the internal oral cavity. Sequential embouchure exercises such as the milkshake-straw drill (draw air through a narrow straw to feel the correct corner engagement) and the fulcrum-point check (confirm the lower lip sits at the correct contact point on the reed) improve stability and reduce cheek puffing. Use a mirror. Watch for chin movement, puffed cheeks, or corners pulling back.
Voicing and tongue position
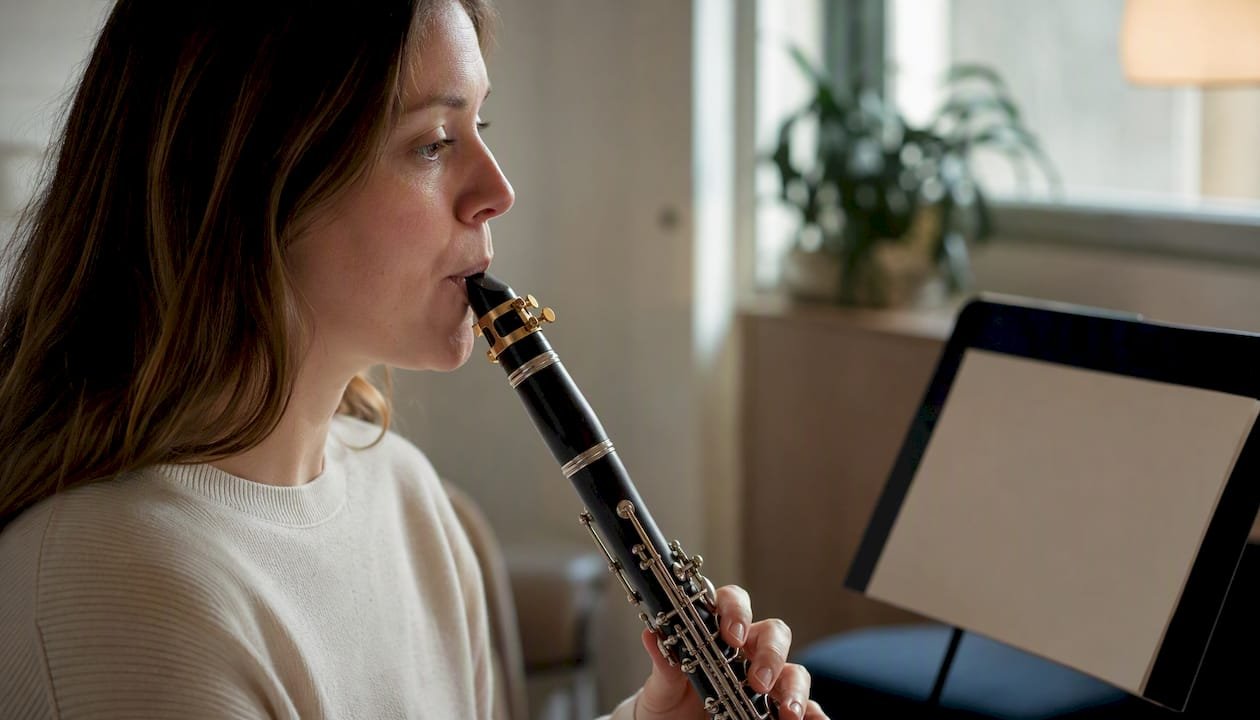
The tongue is the primary steering surface for the air column. An “ee” tongue position raises the back of the tongue, narrows the oral cavity, and speeds the air, producing a focused, centered tone. An “ah” position lowers the tongue, widens the cavity, and spreads the sound. Tone production depends on both external embouchure and internal voicing, with the tongue controlling air speed and timbre. Practice voicing slides: sustain a tone on mouthpiece and barrel, silently shift from “ah” to “ee,” and listen for the tone to sharpen and center.
Articulation mechanics
- Place the tip of the tongue on the tip of the reed (tip-to-tip contact). Avoid anchoring the tongue further back.
- Use the tongue as an interrupter, not a pusher. The air keeps moving; the tongue briefly stops the reed, then releases.
- Practice “interruptions”: sustain a tone, then add single tongued notes at 60 BPM, keeping the air column constant between attacks.
- Minimize tongue travel. The smaller the motion, the faster and cleaner the articulation.
Pro Tip: Test mouthpiece and barrel alone to isolate your voicing. If the tone centers on the barrel but spreads when you add the body, the problem is instrument fit or a leak, not your technique.
What equipment setup gives you the clearest clarinet tone?
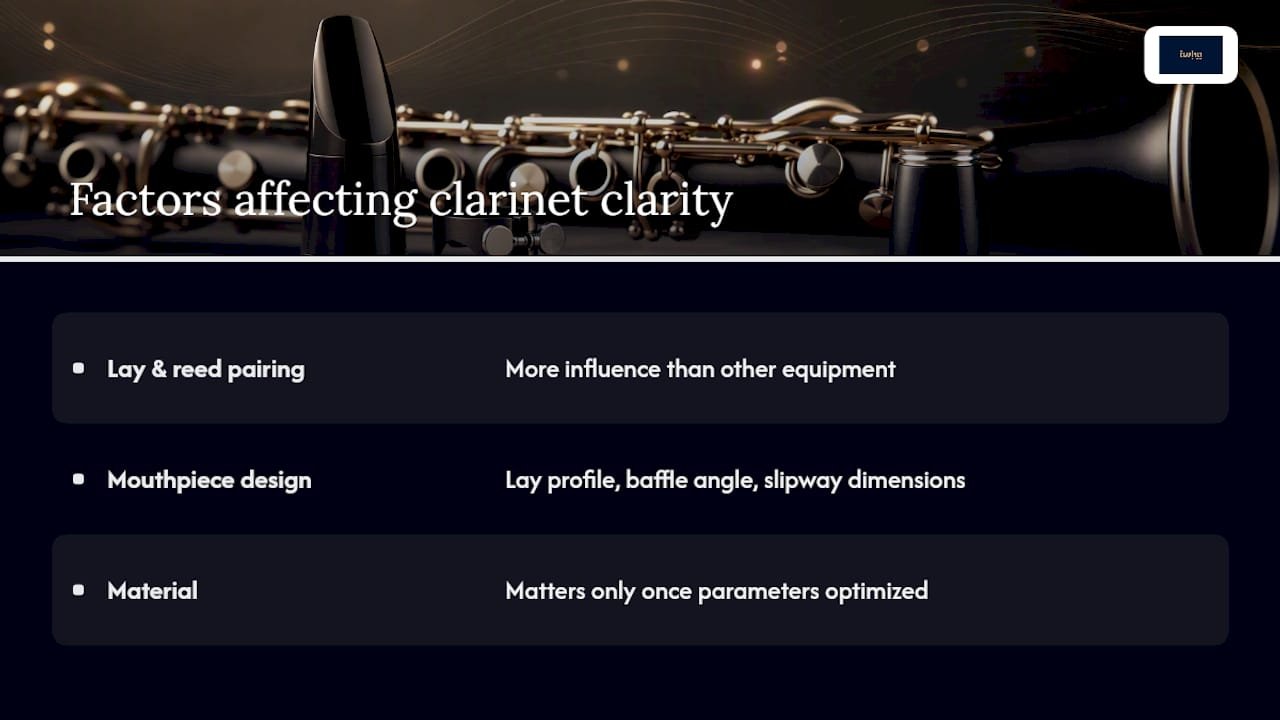
The mouthpiece lay and reed pairing have more influence on clarity than any other equipment variable. Research on mouthpiece design confirms that lay profile, baffle angle, and slipway dimensions materially affect timbre, response, and upper-harmonic balance. Material matters, but only once those parameters are optimized.
Reed selection beyond strength
Reed strength is a starting point, not a solution. Consider these variables:
- Cane cut: French-filed reeds (with the bark removed at the heel) respond faster and suit players who want brightness and clarity. Unfiled reeds tend to be darker and more resistant.
- Tip profile: A thinner tip vibrates more freely and responds at lower pressures. A thicker tip requires more air speed to speak cleanly.
- Age and hydration: New reeds need 10–15 minutes of playing-in time. Dry reeds produce a thin, airy tone. Soak for 2–3 minutes before playing.
- Cane quality: Grainy or soft cane produces inconsistent vibration. Look for dense, even grain running parallel to the reed’s spine.
Ligature and barrel
Ligature tension affects how freely the reed vibrates. A ligature that is too tight dampens vibration and narrows the tone. A ligature that is too loose allows the reed to shift and produces instability. Test by playing the same passage with the ligature at different tension points and listening for the most resonant response.
Barrel length and bore taper affect pitch and resonance. A shorter barrel raises pitch slightly and can brighten the tone. A longer barrel lowers pitch and adds warmth. If your tone is consistently flat or sharp across registers, barrel length is worth testing before adjusting embouchure.
Maintenance checklist before every session:
- Check all pads for leaks (press each key and listen for air escape)
- Confirm tenon corks are snug with no wobble
- Swab moisture from the mouthpiece bore
- Check for water in tone holes (especially the register key)
For a complete maintenance sequence, the clarinet maintenance checklist at Myclarinetstuff covers pad checks, tenon fit, and cork replacement timing.
Pro Tip: When you can’t tell whether a clarity problem is technique or equipment, play the same passage on a different reed. If the problem disappears, the reed was the cause. If it persists, look at technique or instrument fit.
How do you diagnose and fix the most common clarity problems?
Most day-to-day clarity issues trace to air speed, tongue position, embouchure leaks, reeds, or instrument fit. The clarinet sound troubleshooting guide at Myclarinetstuff covers these in detail, but the table below gives you the fastest diagnostic path.
| Symptom | Probable cause | Quick fix |
|---|---|---|
| Breathy/fuzzy tone | Air speed too slow; reed too soft | Speed up the air; try a half-strength harder reed |
| Spitty or crackly attacks | Water in tone holes or mouthpiece bore | Swab out; check register key chimney |
| Thin/nasal tone | Tongue too high (“ee” overcorrected); embouchure too tight | Relax jaw slightly; lower tongue to “ih” |
| Breaks in register connection | Voicing inconsistency across the break | Isolate the break; practice voicing slides through it |
| Air leaks (hissing) | Pad leak or loose tenon | Press each key; check tenon corks |
| Variable day-to-day tone | Reed inconsistency or humidity change | Rotate 3–4 reeds; note humidity before each session |
When to call a technician (not a DIY fix):
- Persistent pad leaks after cleaning
- Cracked or warped tone holes
- Bent key mechanisms affecting pad seating
- Tenon corks that compress immediately after replacement
What daily practice routine builds lasting tonal clarity?
Start every session with 10 minutes of focused long tones using the rib-led support cue and a phone recording as your checkpoint. That single habit, applied consistently, produces more measurable improvement than any equipment change.
4-week progressive plan:
- Week 1: Mouthpiece and barrel long tones only. Target concert F#, sustain for 8 counts, rest for 4. Focus on rib movement and “ee” voicing. Record one take per session.
- Week 2: Add voicing slides (mouthpiece and barrel, shift from “ah” to “ee” mid-tone). Then transfer to full clarinet, matching the tone quality from the barrel work. Add single-tongue interruptions at 60 BPM.
- Week 3: Dynamic layering: play the same long tone from pp to ff without changing embouchure shape. Add register-matching exercises (low G to clarion G, listening for evenness of tone color).
- Week 4: Combine all elements in a short étude or scale passage. Record and compare to Week 1. Use a simple rubric: focus (centered vs. spread), evenness (consistent across registers), projection (audible at distance), response (clean attacks).
Practice checkpoints:
- Record at least twice per week and compare back-to-back sessions
- Note humidity and temperature before each session (see the environmental section below)
- Use a tuner to confirm concert F# on the barrel test is stable before adding the body
For warm-up strategies that complement this plan, the expert clarinet warm-up tips guide at Myclarinetstuff offers additional long-tone and register-matching sequences.
How do you run a systematic mouthpiece test at home?
A standardized test protocol isolates player variables and reveals how mouthpiece design affects clarity. Without controlling variables, you are comparing your warm-up state on Monday to your tired state on Friday, not the mouthpieces themselves.
Step-by-step protocol:
- Warm up for 10 minutes on your current setup before testing anything new.
- Remove the body. Play mouthpiece and barrel alone. ICA pedagogy recommends targeting concert F# as the diagnostic pitch for tone setup.
- Set up a phone recording at a fixed distance (roughly 3 feet, consistent across all tests).
- Play the same passage on Mouthpiece A: a 4-count long tone, a short scale, and a tongued passage. Record.
- Switch to Mouthpiece B without changing reed, barrel, or ligature. Repeat the same passage. Record.
- Listen back blind (label files A and B, not by mouthpiece name). Score each on: focus (1–5), evenness across registers (1–5), projection (1–5), response/attack clarity (1–5).
- Repeat the test on two separate days before drawing conclusions. One session is not enough to trust.
Pro Tip: Use the same reed for both mouthpieces in a single session. Reed variability is the most common confounding factor in home mouthpiece tests.
A packaged test box speeds this process considerably. Instead of sourcing individual mouthpieces, you receive a matched set with consistent reed and barrel pairings, ready for the protocol above.
Quick rules for choosing a mouthpiece, reed, and ligature for clarity
Prioritize mouthpiece lay and profile fit to your instrument and voicing style first. Pick a reed cut and strength that allow focused air without biting or forcing.
Decision checklist:
- Start with a medium tip opening (roughly 1.05–1.15 mm for Bb clarinet). Extreme openings require more embouchure compensation and make clarity harder to achieve consistently.
- Test at least 3–5 reeds of the same strength and cut before judging a mouthpiece. One bad reed will make a great mouthpiece sound poor.
- Avoid reeds older than 6 months of regular use. Cane degrades and loses vibrational consistency.
- Try both filed and unfiled cuts on the same mouthpiece before deciding which suits your voicing.
- Test ligature tension in small increments. The optimal tension is the loosest setting that keeps the reed stable.
- When in doubt about tip opening, go slightly more closed. A more closed facing is more forgiving of embouchure inconsistencies and produces a focused tone more reliably.
When to ask a teacher or technician: persistent pitch irregularities across registers, severe pad leaks, structural cracks, or any situation where the instrument itself is producing uneven resistance that technique cannot correct. For a structured approach to the full selection process, the clarinet equipment selection guide at Myclarinetstuff walks through each variable in sequence.
How do you set up a standardized mouthpiece testing environment?
Controlled testing requires more than swapping mouthpieces. Every variable you leave uncontrolled becomes noise in your results.
Environment and setup variables to fix:
- Same barrel every test. Barrel bore and length affect pitch and resonance. Changing it between mouthpieces invalidates the comparison.
- Same reed cut and strength. Ideally, use the same physical reed for both mouthpieces in a single session, or two reeds from the same box that have been broken in identically.
- Consistent humidity. Reed response changes measurably with humidity. Test at the same time of day in the same room when possible.
- Consistent warm-up time. Your embouchure and voicing stabilize after 10–15 minutes of playing. Never test a new mouthpiece cold.
- Blind listening. Label recordings by letter, not by mouthpiece name. Expectation bias is real and will skew your perception.
- Simple rubric. Score focus, evenness, response, and pitch stability on a 1–5 scale. Total scores across two sessions before deciding.
A test box from Myclarinetstuff pre-matches the mouthpieces and includes setup guidance, so the controlled variables above are easier to maintain. The Gleichweit Test Box Variety Pack gives you multiple tip openings in one shipment, ready for the A/B protocol above.
How do humidity and temperature affect your clarinet’s sound clarity?
Environmental conditions affect reed vibration, bore resonance, and pad sealing more than most players account for. A reed that plays well at 45% relative humidity may feel stuffy and unresponsive at 25%, and bright and thin at 70%.
Humidity effects:
- Low humidity (below 35%) dries reeds quickly, making them hard and unresponsive. Tone becomes thin and airy.
- High humidity (above 65%) softens reeds, making them feel too easy and producing a spread, unfocused tone.
- Store reeds in a humidity-controlled case (a reed case with a Boveda pack at 50–55% RH is a practical standard).
Temperature effects:
- Cold air is denser and raises the pitch of the instrument. Playing in a cold room or outdoors in winter will push intonation sharp.
- Warm air lowers pitch. A warm stage after a cold backstage area can cause the instrument to go flat mid-performance.
- Warm up the bore by running warm air through the instrument for 2–3 minutes before playing in cold conditions.
Maintenance habits that protect clarity year-round:
- Swab the bore after every session to prevent moisture buildup in tone holes.
- Store the instrument in a case away from direct sunlight and heating vents.
- Check pad condition seasonally. Dry conditions cause pad leather to harden and seat unevenly, creating micro-leaks that blur the tone.
Which mouthpiece materials and models support the clearest tone?
Mouthpiece material influences tone color, but research on mouthpiece design is clear that lay profile, baffle, and slipway geometry have a larger effect on clarity and response than material alone. Choose material after you have found the right lay shape.
Material comparison:
- Hard rubber (ebonite): The traditional standard. Warm, slightly dark tone. Susceptible to oxidation over time, which can alter the surface and affect response.
- Synthetic resin (CNC-machined): Consistent bore geometry from piece to piece, unaffected by humidity or temperature swings. Gleichweit mouthpieces use precision CNC-machined synthetic construction, which eliminates the unit-to-unit variability common in hand-finished hard rubber.
- Crystal/glass: Bright, projecting tone. Heavier and more fragile. Favored by some jazz and klezmer players for its cutting edge.
Lay profile guidance for clarity:
- A medium-to-closed facing length with a medium tip opening produces the most consistent clarity across registers for most players.
- A high baffle angle increases upper-harmonic content and brightness. Useful for projection in large halls, but can produce a harsh tone if the voicing is not controlled.
- A lower baffle produces a rounder, darker tone with less edge. Better for chamber and orchestral settings where blend matters more than projection.
For guidance on specific Gleichweit models and how they map to playing styles, the clarinet mouthpiece types list at Myclarinetstuff gives a clear breakdown by tip opening and tonal character.
Reed selection and adjustment beyond strength
Strength is the first variable most players adjust, but it is rarely the only one that matters for clarity.
Cane type and cutting:
- Arundo donax is the standard cane species for clarinet reeds. Density and grain structure vary by growing region. Cane from the Var region of France is widely regarded as producing consistent, responsive reeds, though regional variation is real and worth testing.
- French-filed cut: The bark is removed at the heel, leaving a thinner, more flexible vamp. Responds faster and produces a brighter, more focused tone. Preferred by many classical players for clarity.
- American cut (unfiled): Bark left intact at the heel. Darker, more resistant response. Can produce a fuller tone but requires more air speed to speak cleanly.
Reed adjustment techniques:
- If a reed is too bright or thin, lightly sand the tip (400-grit sandpaper on a flat surface, 2–3 strokes) to reduce tip thickness.
- If a reed is too resistant, sand lightly on the heart (the thick center spine) to reduce stiffness.
- If a reed leaks air at the sides, check the flat of the reed against the mouthpiece table. A warped reed will not seal. Flatten gently on glass with fine sandpaper.
- Rotate 3–4 reeds in a session. Playing one reed to exhaustion in a single session degrades it faster and produces inconsistent results.
Pro Tip: Number your reeds and log how they play each session. After two weeks, you’ll see a clear pattern: which reeds improve with break-in and which ones never settle.
The real balance between technique and gear
There is a temptation, especially after a frustrating rehearsal, to reach for a new mouthpiece or a different reed box as the solution. Gear matters. But the technique changes in this article, specifically regulated support and raised voicing, produce gains that no equipment swap can replicate, because they change the quality of air entering the instrument.
The most useful framing is this: technique sets the ceiling for what your equipment can do. A great mouthpiece played with slow, unfocused air will sound worse than a mediocre mouthpiece played with fast, centered air. The reverse is also true: once your technique is consistent, the right mouthpiece amplifies and refines what you have already built. Testing gear objectively, using the A/B protocol and the controlled environment described above, is the only way to hear what a mouthpiece actually does rather than what you expect it to do.
Use the 4-week practice plan and the test-box protocol together. Build the technique first, then test the equipment. That sequence produces results you can actually trust.
Try Gleichweit mouthpieces at home with a Myclarinetstuff test box
The fastest way to apply the testing protocol above is with a matched set of mouthpieces already prepared for A/B comparison. Myclarinetstuff’s Gleichweit Test Box Variety Pack ships multiple tip openings in one package, so you can run the full standardized test without sourcing individual mouthpieces or worrying about unit-to-unit inconsistency.
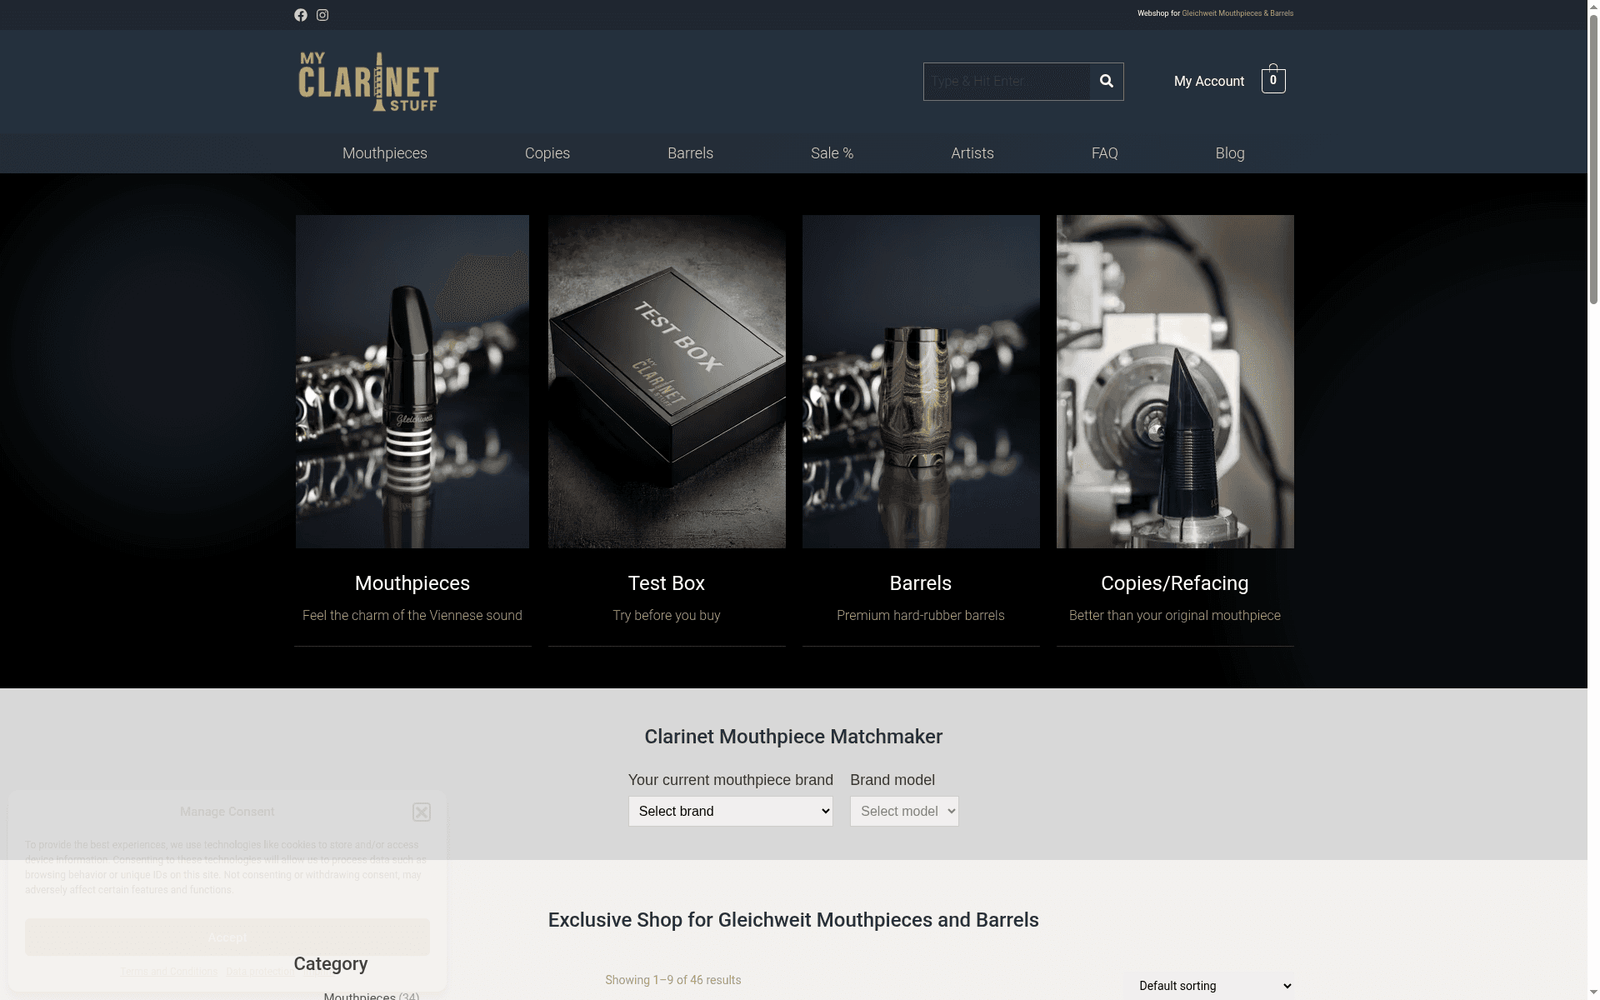
Gleichweit mouthpieces are precision CNC-machined in Austria from synthetic resin, which means every piece in the box has the same bore geometry and facing curve. That consistency is exactly what a controlled home test requires. Fast U.S. shipping and personalized support are standard. Visit the Clarinet Mouthpiece Matchmaker to find the right tip opening for your playing style and start your at-home trial.
Sources
Pedagogy
- The Effects of Design on the Tone and Response of Clarinet Mouthpieces
- Embouchure and oral cavity development: a sequential approach for teaching clarinetists
Acoustics and design
Practical troubleshooting and equipment