
TL;DR:
- Mastering the clarinet’s altissimo register requires control of the full standard range and precise voicing techniques.
- Progress depends on consistent practice, experimentation with fingerings, and developing reliable ear training for pitch accuracy.
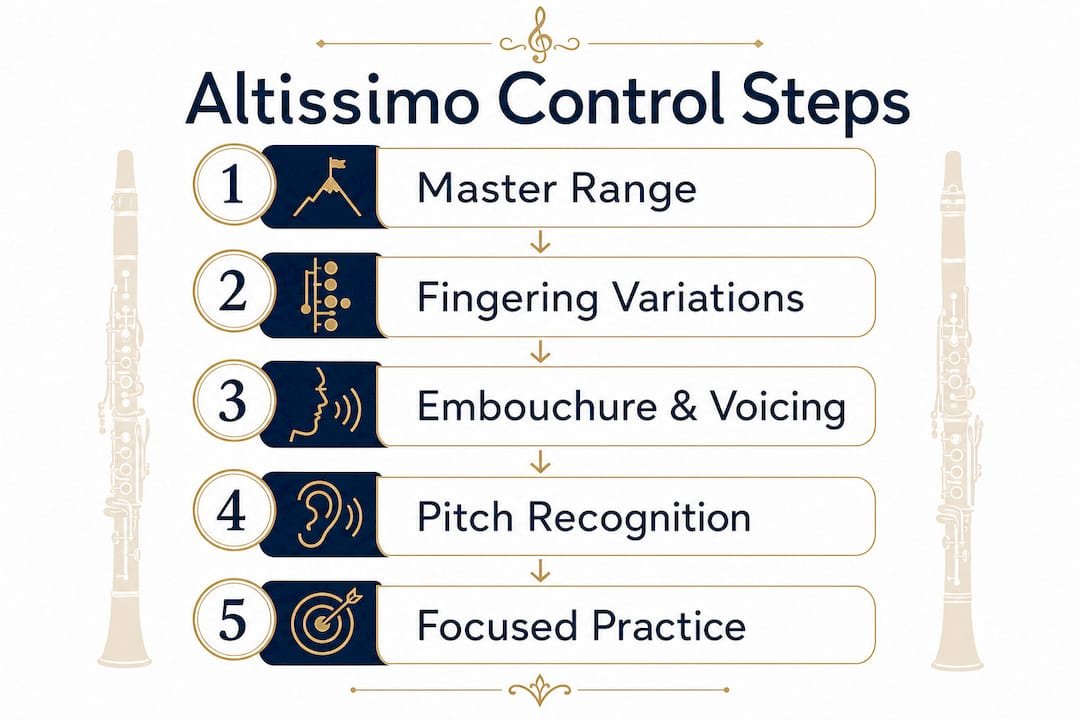
Clarinet altissimo register control is the advanced technique of navigating the clarinet’s highest notes through precise fingerings, embouchure, voicing, and airstream management. The altissimo register begins above the standard clarion range, starting around high C and extending upward, and it demands a completely different approach from the rest of the instrument. Players who master this range gain access to the full expressive spectrum of the clarinet in classical, contemporary, and jazz settings. Getting there requires more than a fingering chart. It requires building the right physical habits from the ground up.
What technical foundations are necessary before attempting the altissimo register?
Solid altissimo technique starts with complete control of the standard clarinet range. Industry guidance confirms that players must master the full range from low E to high C, with consistent tone quality, accurate intonation, and reliable technique, before attempting altissimo work. That standard is not arbitrary. The physical habits you build in the lower registers carry directly into the altissimo.
The upper clarion range, from around high G to high C, is the most critical stepping stone. Players who can produce a clean, centered high C with steady air and a stable embouchure are physically ready to push further. Those who cannot will find that altissimo exposes every weakness in their foundation.
Premature altissimo practice causes specific, lasting problems: embouchure instability, tone wavering, and intonation issues that become harder to correct over time. Teachers consistently report that students who rush into altissimo before they are ready develop a biting habit that restricts reed vibration and narrows their tone across the entire instrument.
Before you attempt your first altissimo note, confirm you can do all of the following reliably:
- Sustain a long tone on high B-flat with no pitch drift
- Slur cleanly from the clarion register into the throat tones and back
- Play a two-octave chromatic scale with even tone and consistent intonation
- Control dynamic changes from piano to forte in the upper clarion without embouchure collapse
Pro Tip: Record yourself playing a sustained high B-flat and listen back. If the tone wavers or the pitch drifts in the first five seconds, spend another month on upper clarion long tones before touching altissimo fingerings.
Understanding how the clarinet registers relate to each other makes this progression much clearer. The altissimo is not a separate instrument. It is the natural extension of the technique you already have.
How do fingering variations and instrument-specific adjustments impact altissimo control?
Altissimo fingerings are not fixed rules. They are starting points. Jenny Maclay’s research confirms that altissimo notes require multiple fingerings, and the best choice depends on your specific instrument, the musical context, and the notes surrounding the altissimo passage. Treating any single fingering chart as absolute will limit your playing.
The core technique behind most altissimo fingerings is a combination of cross-fingering and venting. Cross-fingering means leaving certain tone holes open while others are closed, which disrupts the normal harmonic series and coaxes the instrument into producing a higher partial. Venting means opening a specific key or tone hole to encourage the correct harmonic to speak clearly. Most altissimo fingerings use both strategies together.
Here is how fingering choices typically break down by note and context:
| Altissimo note | Primary approach | Context adjustment |
|---|---|---|
| High D (above the staff) | Standard vent key plus cross-fingering | Add a finger for flat tendency |
| High E-flat | Alternate vent position | Remove a finger for sharp tendency |
| High E | Multiple options available | Choose based on preceding note |
| High F and above | Instrument-specific experimentation | Test with tuner for each instrument |
The clarinet system you play matters significantly. Boehm system instruments and Albert system instruments produce different results with the same fingering. Even two Boehm system clarinets from the same manufacturer can respond differently in the altissimo. This is why fingering experimentation is not optional. It is the method.
Pitch adjustment within the altissimo is also possible through finger additions and removals. Adding a finger below the vent typically lowers the pitch. Removing one raises it. This gives you real-time intonation control without changing your embouchure, which is exactly what you need in a live performance context.
What embouchure, voicing, and air support techniques optimize altissimo note clarity and pitch?
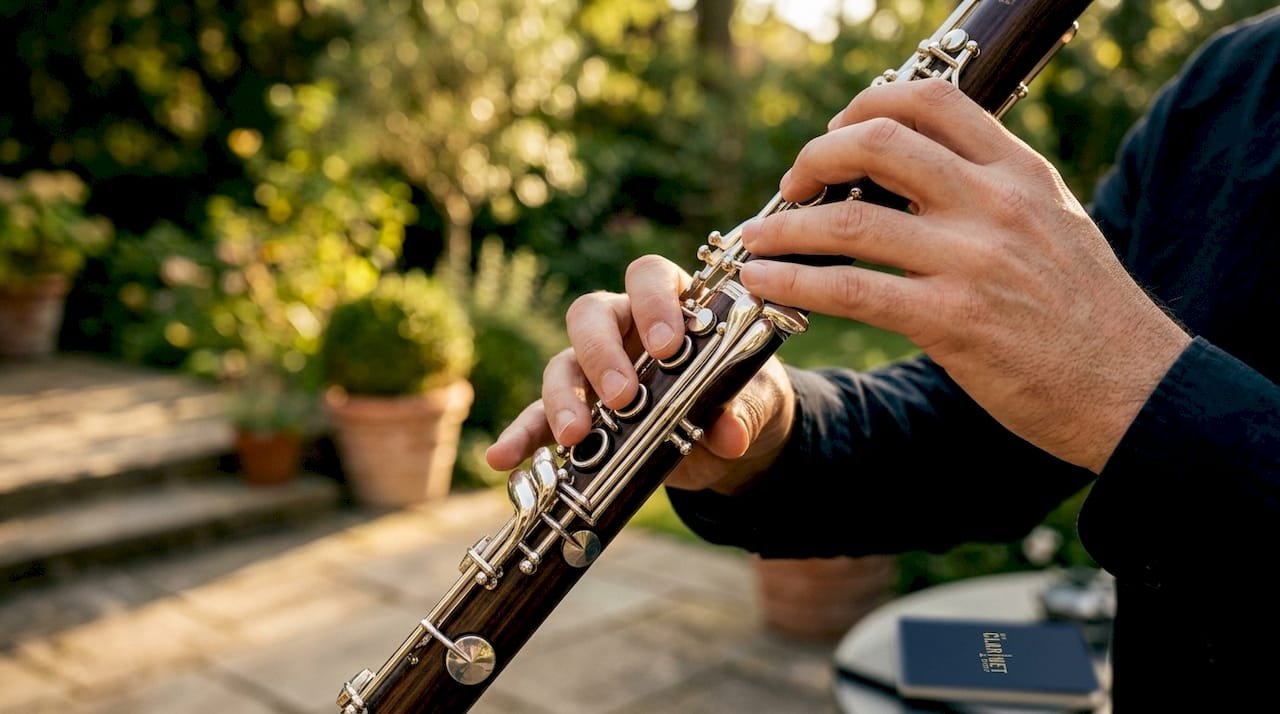
The embouchure for altissimo is firm but never biting. Detailed fingering guides emphasize air speed and corner firmness over jaw pressure. Biting restricts reed vibration and produces a thin, pinched tone that cracks easily in the altissimo. The goal is firm corners with a flat, pointed chin, which stabilizes the reed without choking it.
Voicing is the single most important physical adjustment for altissimo production. Dr. Tracy Heavner stresses maintaining an “ee” vowel shape and a high tongue position for clarity throughout the clarinet range. In the altissimo, this becomes even more critical. A high tongue position narrows the oral cavity and focuses the airstream, which encourages the instrument to produce higher harmonics rather than lower ones.
Dropping the tongue in the altissimo is the most common cause of cracked tones and multiphonics. The tongue must stay high and forward. Think of the vowel sound shifting from “ah” in the low register to “ee” in the altissimo. That shift narrows the oral cavity and raises the resonant frequency of your air column, which matches what the instrument needs to speak clearly.
Follow this sequence to build the correct physical setup:
- Set your embouchure on the mouthpiece with firm corners and a flat chin. Check that you are not biting by pressing gently on your chin with one finger.
- Shape your tongue to the “ee” vowel before you blow. Feel the back of your tongue rise toward your soft palate.
- Direct a fast, focused stream of air through the narrow oral cavity. Think of blowing through a cocktail straw, not a garden hose.
- Engage the altissimo fingering and let the air do the work. Do not add jaw pressure if the note does not speak. Adjust air speed instead.
- Sustain the note for four counts and listen for tone center. A centered tone has a clear fundamental with no buzzing or cracking.
Pro Tip: Practice voicing away from the clarinet by whistling a scale. Whistling uses the same high-tongue, narrow-cavity technique as altissimo production. Five minutes of whistling before a practice session primes the physical setup before you ever pick up the instrument.
Voicing practice away from the clarinet, such as whistling, develops this technique efficiently. Players who add this to their daily warm-up report faster progress in the altissimo than those who only practice on the instrument.
How can clarinetists develop reliable pitch recognition and intonation in the altissimo register?
Pitch recognition in the altissimo is genuinely difficult. The clarinet’s overtone series is complex, and the altissimo sits in a range where multiple harmonics compete for dominance. A player can produce a note that sounds like the right pitch but is actually a different harmonic entirely. This is why ear training is not supplementary to altissimo work. It is central to it.
The most effective ear training hack for altissimo is the octave drop. Playing an altissimo note down an octave clarifies pitch accuracy and trains the ear amid overtone complexity. Play your target altissimo note, then immediately drop to the same pitch class an octave lower. If the two notes match in pitch class, your altissimo note is correct. If they do not, you are producing the wrong harmonic.
Practicing altissimo scales in thirds and using octave drops for pitch verification builds ear independence and control over time. This approach forces you to hear each altissimo note in relation to a known pitch, which accelerates the development of reliable intonation.
Build your ear training practice around these methods:
- Play each altissimo note, then immediately play it an octave lower to verify the pitch class
- Practice chromatic scales through the altissimo range slowly, checking each note with a tuner
- Play intervallic patterns such as thirds and fourths that move between the clarion and altissimo registers
- Record your altissimo practice and listen back the same day to identify pitch drift you missed in real time
- Use a drone pitch from a tuner or piano app and sustain altissimo notes against it to hear intonation clearly
The recording habit is particularly valuable. Players almost always hear their own playing differently in real time than on playback. Listening back reveals pitch tendencies and tone inconsistencies that are invisible in the moment.
What practice routines and exercises most effectively build altissimo control and consistency?
Consistent altissimo control comes from structured daily practice, not occasional high-note attempts. Starting altissimo practice from the lowest altissimo notes and gradually extending the range upward builds tone consistency and confidence. Jumping to the top of the altissimo range before the lower notes are secure creates gaps in control that show up in performance.
Build your altissimo practice routine around these steps:
- Warm up with upper clarion long tones from high A to high C. This primes the embouchure and air support before you enter the altissimo.
- Practice your lowest reliable altissimo note as a long tone. Hold it for eight counts with steady air and no pitch drift. Repeat four times.
- Slur from the highest clarion note into the first altissimo note and back. Focus on keeping the air speed constant through the register break.
- Add one new altissimo note per week, working upward from your current ceiling. Do not add a new note until the previous one is stable in long tones and slurred passages.
- Finish with a slow chromatic or diatonic scale through your current altissimo range, using a tuner to check each note.
Quality matters far more than quantity in altissimo practice. Twenty minutes of focused, attentive altissimo work produces more progress than an hour of unfocused repetition. Keep sessions short and specific. A clarinet reed adjustment that matches your current embouchure development also makes a measurable difference in how easily the altissimo speaks during practice.
Away from the instrument, whistling scales and intervals reinforces the voicing technique that altissimo demands. This is one of the few practice strategies that transfers directly from off-instrument work to on-instrument results.
Key Takeaways
Clarinet altissimo register control requires mastering the full standard range first, then building embouchure stability, precise voicing, and ear training through structured daily practice.
| Point | Details |
|---|---|
| Master the standard range first | Solid control from low E to high C is required before altissimo attempts. |
| Voicing drives altissimo production | An “ee” vowel shape and high tongue position focus the airstream for higher harmonics. |
| Fingerings vary by instrument | Treat altissimo fingerings as starting points and experiment to find what works on your clarinet. |
| Ear training is non-negotiable | Use the octave drop technique and recordings to verify pitch accuracy in the altissimo. |
| Progress gradually and consistently | Start from the lowest altissimo notes and add range only when each note is stable. |
Altissimo as a new dialect, not just high notes
The players I see struggle most with altissimo are the ones who treat it as a destination. They want to arrive at high D and check it off the list. But altissimo is not a destination. It is a new way of speaking on the instrument, and like any language, it takes time to become fluent.
The biggest mistake I see consistently is rushing the foundation. A player who cannot sustain a clean, centered high B-flat has no business attempting altissimo fingerings. The altissimo will expose every weakness in your embouchure and air support, and practicing through those weaknesses does not fix them. It reinforces them.
What actually works is treating altissimo practice as a daily conversation with your instrument. Spend five minutes on it every day rather than thirty minutes once a week. The daily contact builds the muscle memory and ear sensitivity that sporadic practice cannot. Whistling before you play, recording yourself, and using the octave drop check are not optional extras. They are the method.
The other thing I want you to hear is this: improving your altissimo will make your entire clarinet playing better. The voicing, air focus, and embouchure stability you develop in the altissimo carry back down into the clarion and chalumeau registers. Players who commit to altissimo work consistently report that their overall tone becomes more centered and their intonation improves across the full range. The altissimo is not a separate skill. It is the advanced expression of everything you have already been building.
— Milos
The right mouthpiece makes altissimo work easier

Your mouthpiece has a direct impact on how easily the altissimo speaks. A mouthpiece with a well-designed facing and consistent bore geometry gives you a stable platform for the precise air control that altissimo demands. Myclarinetstuff carries Gleichweit mouthpieces, precision CNC-crafted in Austria from synthetic material, which means no variability between pieces and reliable response in the upper register every time you play. Use the Mouthpiece Matchmaker to find the right fit for your playing style and register goals. For players also working on setup, the clarinet accessory guide covers barrels and ligatures that support tuning and response in the altissimo range.
FAQ
What is the clarinet altissimo register?
The clarinet altissimo register is the range of notes above the standard clarion register, beginning around high C and extending upward. These notes require specialized fingerings, voicing, and air control to produce reliably.
When should a clarinetist start learning altissimo?
A clarinetist should begin altissimo work only after achieving consistent tone, intonation, and technique across the full standard range from low E to high C. Attempting altissimo before this foundation is solid leads to embouchure instability and bad habits.
Why do altissimo notes crack or produce multiphonics?
Cracked tones and multiphonics in the altissimo most often result from a dropped tongue position. Maintaining an “ee” vowel shape and keeping the tongue high focuses the airstream and prevents the instrument from splitting into multiple harmonics.
How many fingerings does each altissimo note have?
Most altissimo notes have multiple viable fingerings, and the best choice depends on your specific instrument and the musical context. Experimenting with several options and checking each with a tuner is the standard approach for finding reliable fingerings on your clarinet.
How do I check if my altissimo note is the correct pitch?
Play the altissimo note, then immediately play the same pitch class an octave lower. If the two notes match in pitch class, the altissimo note is correct. This octave drop technique trains the ear and confirms you are producing the right harmonic.
Recommended
- Clarinet registers explained: Your guide to mastering each range – My Clarinet Stuff
- Clarinet intonation: master pitch accuracy in 5 steps – My Clarinet Stuff
- Clarinet Overblowing Explained for Students and Educators – My Clarinet Stuff
- Clarinet Performance Tips Guide for Achieving Your Best Sound – My Clarinet Stuff
One Response