


Test for reed security first, articulation control second, and treat tonal transformation as a bonus you probably won’t get. The deciding factors are stability, how well a ligature controls articulation, and whether its contact points fit your mouthpiece and reed. Blind trials show tonal shifts are small; the real payoff is mechanical reliability and comfort in your hands.
TL;DR:
- Mechanical stability and correct contact fit are more important than tonal differences, as blind trials show minimal tonal variation across ligature types.
- Contact geometry and design features, such as broad wraps or multi-plate systems, influence reed stability and articulation control more reliably than material alone.
- Proper testing involves standardizing setup conditions, verifying reed seating and slippage, and avoiding subjective assumptions about tonal changes caused by ligature differences.
- Budget premium does not guarantee better performance; mid-range ligatures with optimized contact geometry often outperform expensive models when tested properly.
- Beginners benefit from broad-contact ligatures for added forgiveness, while advanced players may seek high-precision designs for nuanced articulation and response.
Table of Contents
- Types and Designs of Clarinet Ligatures
- What Do Trials Actually Show About Ligature Sound?
- How Do You Test Ligatures at Home?
- How Do You Choose the Right Ligature for Your Needs?
- Setting Up and Maintaining Your Ligature the Right Way
- Which Ligature Category Fits Your Playing Situation?
- Will a Ligature Work With Any Clarinet or Mouthpiece?
- What Should You Expect to Spend on a Ligature?
- Do Beginners and Advanced Players Need Different Ligatures?
- Which Ligature Brands and Products Should You Know?
- How Myclarinetstuff Approaches Ligature and Mouthpiece Testing
- Want Help Isolating What’s Actually Changing Your Sound?
- Sources
Types and Designs of Clarinet Ligatures
Every ligature does the same job: hold a reed against the mouthpiece table without choking its vibration. How each type does that job depends on material and contact geometry, and those two variables explain almost every difference you’ll feel.
Material tendencies are well documented. Metal ligatures, whether brass, nickel, or plated, tend to read as brighter and more projecting, while leather, fabric, and synthetic designs skew warmer and blend more easily into an ensemble sound. Cord and rope wraps sit in between, offering adjustable tension with a softer contact than metal rails. Composite and carbon-fiber ligatures borrow rigidity from metal with less mass, which some players feel as quicker response.
Design variants matter as much as material:
- Two-screw designs are the standard, offering even, symmetrical clamping.
- Inverted screw placement (screws on the reed side rather than facing out) can reduce vibration damping near the mouthpiece window.
- Cord or wrap ligatures distribute pressure over a wider surface with less localized pinch.
- Single-plate designs contact the reed at one continuous band, favoring simplicity.
- Multi-plate or changeable systems let you swap contact plates to test different feels without buying separate ligatures.
Contact geometry drives the mechanics. Broad, continuous wraps or multi-rail systems distribute clamping force across more surface area, which often secures the reed at lower overall tension. Point-contact designs concentrate force in fewer spots, which can sharpen articulation but raises the risk of localized reed compression if you overtighten.
What Do Trials Actually Show About Ligature Sound?
Not much, tonally. Blind back-to-back trials with tension controlled across ligatures report minimal audible tonal differences between most designs, metal, leather, or synthetic. That finding surprises a lot of players who’ve spent money chasing a “warmer” or “darker” ligature sound.
Trials that standardized clamping force found more consistency than earlier informal comparisons, which suggests a lot of past disagreement over ligature tone came from inconsistent setup, not real acoustic difference.
What trials do measure reliably: mechanical performance. Articulation control and reed stability during tuning adjustments show up as consistent, repeatable differences between designs. Broad-contact geometries in particular reduce slippage when you rotate the mouthpiece for tuning, which matters more day to day than a theoretical timbre shift.
So why do players swear their new ligature “opened up” their sound? Expectation and proprioceptive feedback play a real role in perceived tonal change, even when the acoustic signal barely moves. A ligature that grips the reed more securely often lets you relax your embouchure and air support, and that physical change in your playing gets misread as a change in the ligature’s tone. Establishing a minimum viable clamping force before testing is what separates a rigorous comparison from wishful listening.
How Do You Test Ligatures at Home?
Run a controlled protocol, not a series of one-off impressions. Here’s a sequence that mirrors what the more rigorous trials used:
- Standardize everything except the ligature. Same mouthpiece, same reed model and cut (ideally the same box), same instrument, same room. Play a short baseline passage and note how it feels before swapping anything.
- Set minimum viable tension first. Tighten each ligature to the point where the reed is secure and no more. Snug, or finger-tight, is the target; test at that baseline before trying small incremental increases.
- Run a consistent playing routine. Scales across low, middle, and high registers, standard articulations (legato, staccato, accented), and one or two excerpts you know well. If you can recruit a second person to swap ligatures out of your sight, a blinded listening test removes a lot of bias.
- Do the reed-seat test. Remove the mouthpiece, reed, and ligature together as one unit. If the reed shifts or the ligature slips during that motion, it’s failing its primary job regardless of how it sounds.
- Check for slippage while tuning. Rotate the mouthpiece slightly, as you would to adjust pitch, and see if the reed holds its seating.
- Write it down. A one-line note per ligature (stability, articulation, feel) beats trying to remember five impressions from memory an hour later.
Pro Tip: Test at the same time of day with the same reed moisture level. A reed that’s been soaking for ten minutes behaves differently than one you just pulled from the case, and that variable alone can wreck an otherwise careful comparison.
Reliability across repeated trials matters more than how convincing any single session felt. If you want a parallel framework, the step-by-step approach to testing mouthpieces uses the same standardize-then-swap logic.
How Do You Choose the Right Ligature for Your Needs?
Rank your criteria before you rank ligatures. Reed security and slip resistance during tuning come first, because a ligature that fails mechanically undermines everything else you’re evaluating. Articulation control and mouthpiece fit come next. Projection versus blend, durability, upkeep, and price are real considerations, but they’re secondary to whether the thing actually holds your reed still.
- Confirm the ligature fits your specific mouthpiece diameter (Bb, bass, and Eb mouthpieces are not interchangeable).
- Prioritize broad-contact or multi-rail designs if you struggle with reed slippage during tuning.
- Match material tendency to your setting: metal for projection-forward playing, leather or fabric for blend-focused ensemble work.
- Budget for the fact that better contact geometry often outperforms a more expensive material.
| Test Step | What You’re Checking | Order of Priority |
|---|---|---|
| Reed-seat test | Slippage when removed as a unit | 1st |
| Tuning rotation check | Reed holds seating under adjustment | 2nd |
| Articulation run | Response across staccato and legato | 3rd |
| Tonal impression | Subjective color and blend | Last |
Judge tonal impression last, not first. It’s the most seductive part of testing and the least reliable, which is exactly why the complete guide to reed compatibility recommends locking in your reed choice before you start comparing ligatures at all.
Setting Up and Maintaining Your Ligature the Right Way
Placement is simple once you know the landmark: seat the ligature slightly below the reed’s cut line, whether it’s filed or unfiled, so the screws sit just past where the vamp begins to taper. Too high and you risk pinching the vibrating part of the reed; too low and you lose clamping leverage entirely.
Tightness follows one rule: snug, not crushing. Tighten until the screws are just secure and stop; over-tightening compresses reed fibers and can genuinely stifle vibration, while under-tightening invites the exact slippage your testing protocol is designed to catch.
- Back off the tension when storing a reed and ligature for more than a few days.
- Use a thin mouthpiece patch under metal ligatures to prevent surface scratching on the mouthpiece body.
- Recheck reed seating every time you reassemble your setup, not just when something sounds off.
- Inspect screws periodically. Stripped threads are a common, underrated cause of “mystery” instability.
Pro Tip: If you double on mouthpieces regularly, mark your preferred tension point with a small dot of nail polish on the screw head. It sounds trivial, but it saves you from re-guessing “snug” every single time you swap gear. For deeper troubleshooting when something feels off mechanically, the sound troubleshooting guide helps separate ligature issues from embouchure or reed problems.
Which Ligature Category Fits Your Playing Situation?
Match the category to the room and repertoire, not the other way around.
- Orchestral and chamber playing: prioritize blend and non-slip stability. Leather, fabric, or broad-wrap designs tend to serve ensemble playing better than aggressive point-contact metal.
- Solo, concerto, or large-hall projection work: metal or minimal-contact designs often favor the edge and articulation clarity that carries over a pit or a large room.
- Jazz and lead playing: flexible cord or adjustable systems give you room to dial in edge and response; some players prefer metal here too, depending on the sound they’re chasing.
- Frequent mouthpiece switching (doublers): choose broad-contact or high-slip-resistance designs so reeds don’t shift every time you swap gear mid-rehearsal.
None of these categories are locked rules. They’re starting points that narrow your first few tests instead of leaving you guessing across a dozen options at once.
Will a Ligature Work With Any Clarinet or Mouthpiece?
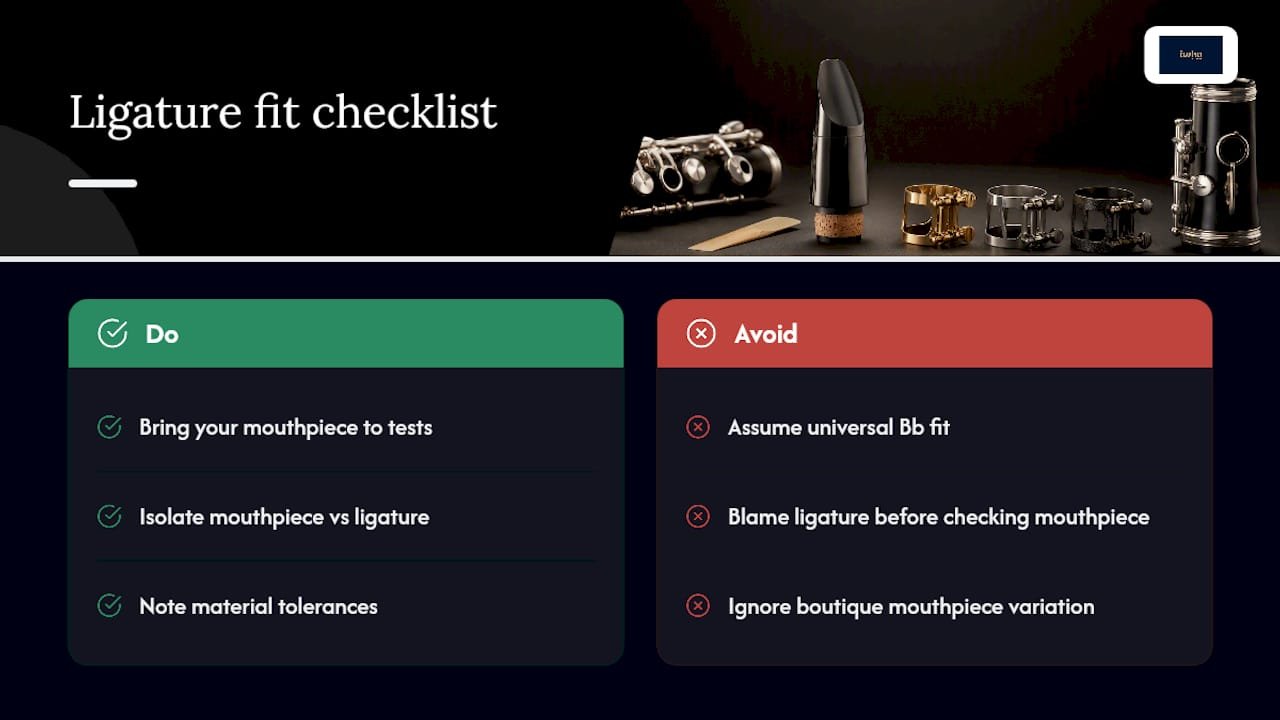
Not automatically. Ligature sizing is tied to mouthpiece barrel diameter, not the clarinet model itself, which means the same ligature can fit multiple clarinet brands as long as the mouthpiece shank diameter matches. Bb clarinet mouthpieces, bass clarinet mouthpieces, and Eb mouthpieces all use different diameters, so a ligature built for one will not clamp correctly, or at all, on another.
Within the Bb category, most standard mouthpieces share a fairly consistent shank size, but boutique and custom mouthpieces sometimes vary enough that a snug ligature on one mouthpiece feels loose on another. If you’re testing several mouthpieces alongside several ligatures, that’s an extra variable worth isolating rather than assuming away.
Mouthpiece material also interacts with ligature contact. CNC-crafted synthetic mouthpieces hold dimensional tolerances more consistently than traditional hard rubber, which tends to vary slightly piece to piece due to manual finishing. A ligature that clamps unevenly on a warped or inconsistent hard rubber blank might seat perfectly on a synthetic mouthpiece built to tighter tolerance. That’s a mechanical fact worth knowing before you blame a ligature for a fit problem that’s actually coming from the mouthpiece.
When in doubt, bring your specific mouthpiece with you when testing ligatures rather than assuming a “universal Bb fit” claim covers your exact setup.
What Should You Expect to Spend on a Ligature?
Ligature prices span a wide range, and the price tag correlates more with material and manufacturing complexity than with mechanical performance. Basic two-screw metal ligatures sit at the entry-level end. Leather and fabric designs often land in a similar range, sometimes slightly higher depending on craftsmanship. Multi-plate or adjustable systems, along with premium metals like sterling silver or gold-plated finishes, occupy the higher end of the market.
Budget considerations should follow your testing results, not precede them. Spending more doesn’t guarantee better reed security. A well-designed mid-range ligature with broad contact geometry can outperform an expensive point-contact design if slippage is your main problem. That’s an uncomfortable fact for anyone hoping a bigger price tag simplifies the decision, but it’s consistent with what the trials show: mechanical design matters more than material cost.
Set a budget range before you shop, then let your back-to-back testing protocol decide within that range rather than assuming the top of your budget is automatically the right answer. If you’re building a full setup from scratch, factoring ligature cost alongside reed and mouthpiece expenses in something like the clarinet accessory selection guide keeps the whole picture in view instead of overspending on one piece.
Do Beginners and Advanced Players Need Different Ligatures?
Beginners generally benefit most from stability and forgiveness. A broad-contact design that holds the reed securely at low tension reduces the chance of accidental slippage while a student is still building consistent embouchure habits, and it removes one variable from an already crowded learning curve. Complicated multi-plate systems or highly point-focused designs can actually work against a beginner by demanding a level of setup precision they haven’t developed yet.
Advanced players tend to have more consistent air support and embouchure control, which means they can extract more from designs that reward precise tension and placement, like point-contact or minimal-contact metal ligatures. That precision cuts both ways. An advanced player might genuinely feel a difference in articulation response between two well-made ligatures, while a beginner testing the same two might not notice anything beyond which one is easier to keep in place.
Comfort matters at every level, though the definition of comfort shifts. For a beginner, comfort means “I don’t have to think about my ligature.” For an advanced player playing three hours a day, comfort might mean fine control over articulation onset. Neither is more valid than the other, and neither justifies skipping the reed-security test first.
Which Ligature Brands and Products Should You Know?
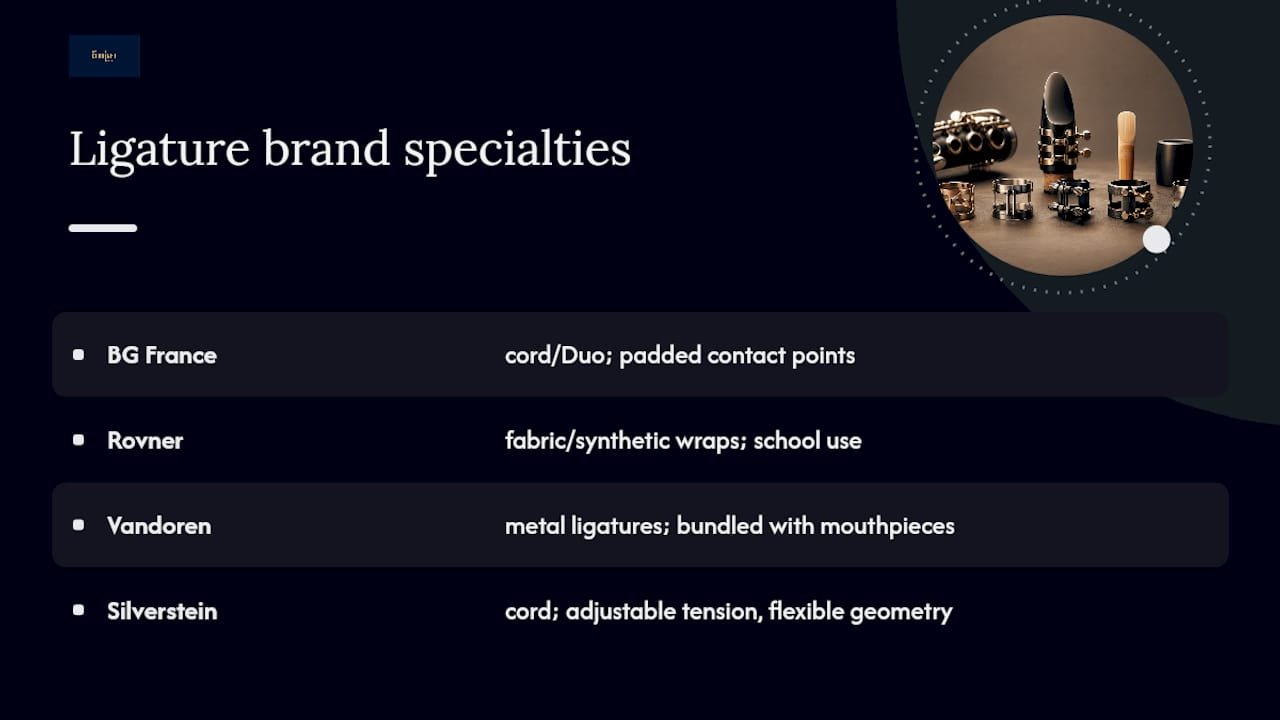
The ligature market includes a handful of well-established names players encounter repeatedly: BG France, known for its cord and Duo series ligatures with padded contact points; Rovner, known for fabric and synthetic wrap-style designs favored in school and university programs; Vandoren, whose metal ligatures are common defaults bundled with many mouthpieces; and Silverstein, known for cord-based adjustable tension systems marketed toward flexible contact geometry.
Each brand tends to specialize in a design family rather than covering all of them equally. BG and Rovner lean into fabric and cord construction suited to blend-focused playing. Vandoren’s metal options lean toward the brighter, more projection-oriented end of the spectrum. Silverstein’s adjustable cord systems appeal to players who want to fine-tune tension without switching hardware entirely.
Treat any brand name as a starting point for testing, not a verdict. The trials referenced earlier found that tonal differences across well-made ligatures, regardless of brand, are smaller than most players expect once tension is controlled. What varies more reliably between brands is contact geometry and build consistency, which is exactly what your back-to-back testing protocol is designed to catch. Buy based on what your reed-seat test and articulation run tell you, not on which name is most familiar.
How Myclarinetstuff Approaches Ligature and Mouthpiece Testing
Myclarinetstuff builds its at-home Test Box program around the same principle this guide follows: control your variables before you trust your ears. We prioritize consistent setup and mechanical fit over promises of dramatic tonal change, and our team is available to help you isolate what’s actually driving your results.
— Milos
Want Help Isolating What’s Actually Changing Your Sound?
Ligature testing only tells you the full story when your mouthpiece is a known quantity, and that’s where a lot of home testing quietly falls apart. If your mouthpiece has inconsistent tolerances, a hard rubber blank with slight manufacturing variance, for instance, no ligature comparison you run on top of it will be fully trustworthy.
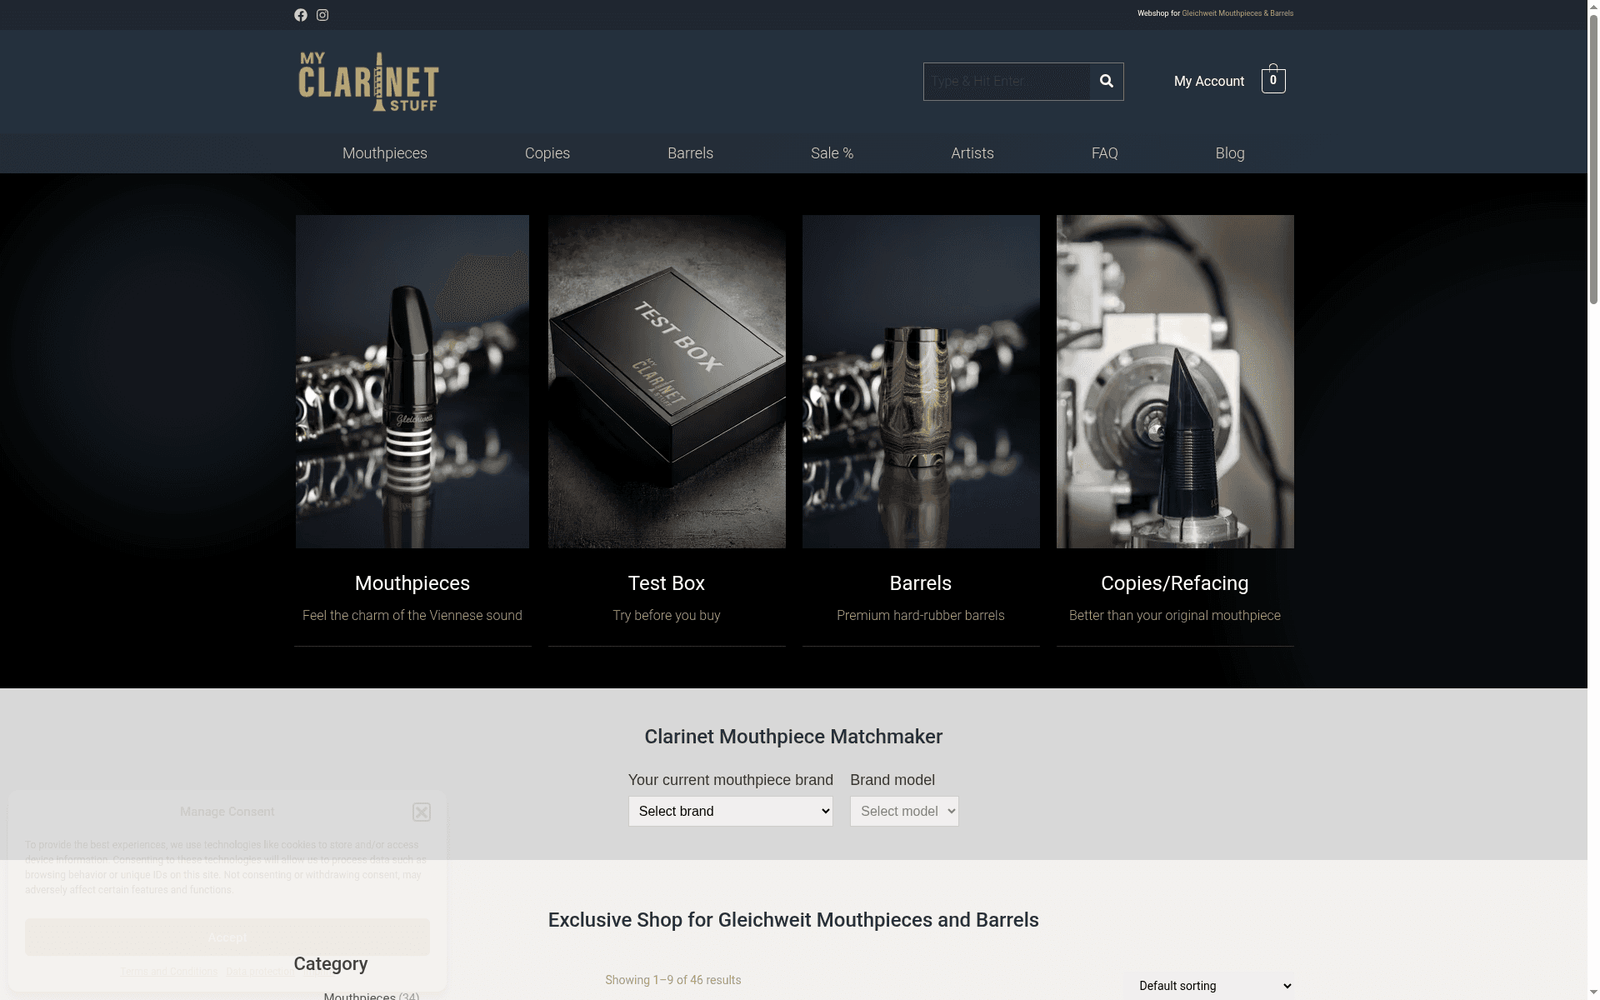
The Clarinet Mouthpiece Matchmaker Test Box lets you trial up to five CNC-crafted Gleichweit mouthpieces at home, so you can lock in a mouthpiece with reliable, repeatable tolerances before you start comparing ligatures on top of it. That separates two variables that get tangled together constantly: is the ligature changing your sound, or is your mouthpiece just inconsistent piece to piece? Pair that with our clarinet mouthpiece FAQ for setup specifics, or reach out to our team directly if you want guided help matching a ligature to your exact mouthpiece shank. Start with the Test Box if you’re ready to build your setup on a stable foundation rather than guessing at the last piece of the puzzle.
Sources
For methodology details behind the trial findings referenced here, see the original ligature trial and its follow-up refinement.
- Proper Ligature Placement on the Clarinet – Martin Freres
- Proper ligature placement on the clarinet – Jenny Maclay
- Clarinet Ligature Trial: What We Found – Jazzocrat